
Making a Key Rack from Woodworking Scraps
We needed a key rack, and we didn’t really like any of those available in stores around us. Also by that time woodworking was kind of a therapy for my burnt-out mind, and I really needed a new project to build…
Preparation
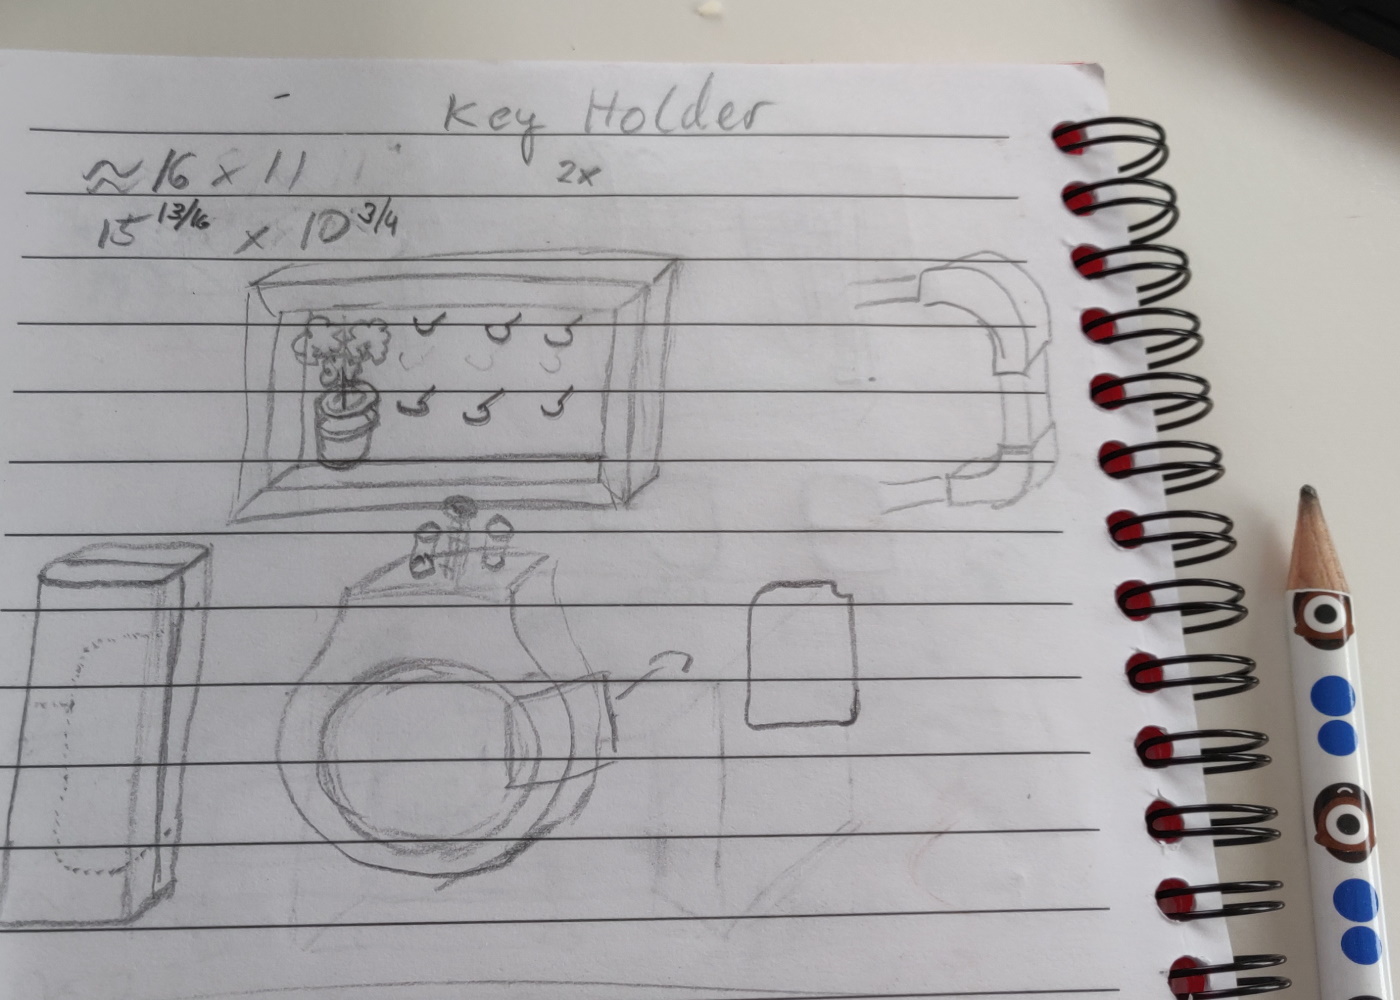 First I sketched out some ideas, and after some discussions my wife and I settled on this design.
For me the purpose of this project was not just to build a key rack, but I also wanted to try out some new things. This was at the beginning of my woodworking journey, back in February 2020. So far I’ve mainly built some simple things, like this outdoor coffee table made from 2x4’s, or spent time with building tools that I needed to proceed with other projects. Here I now had the chance to attempt other types of joinery, use a stain to make a cheap softwood like pine look more luxurious, and use some of my new tools for the first time.
I did build a small stationary planer, made from an electric handheld planer and some plywood. I was able to use this for planing all these little strips of wood as well as the parts of the frame.
Material
 As the back of the key rack I chose a piece of MDF that I had laying around, and planned on glueing a layer of pieces of pine that were glued together to mimic the look of a hardwood floor - kind of. The frame that I wanted to put around was going to consist of leftover pieces of mahogany from when I restored a garden bench for kids.
The hooks I’ve ordered from a hardware store, and the vase is a regular mason jar I got from my wife.
One change I had to do later was to swap the MDF out for some Plywood as the MDF wasn’t strong enough to prevent the laminated board from warping (sigh).
The stain is a walnut-colored stain from the store, the finish a water-based satin polyurethane.
Build
The front
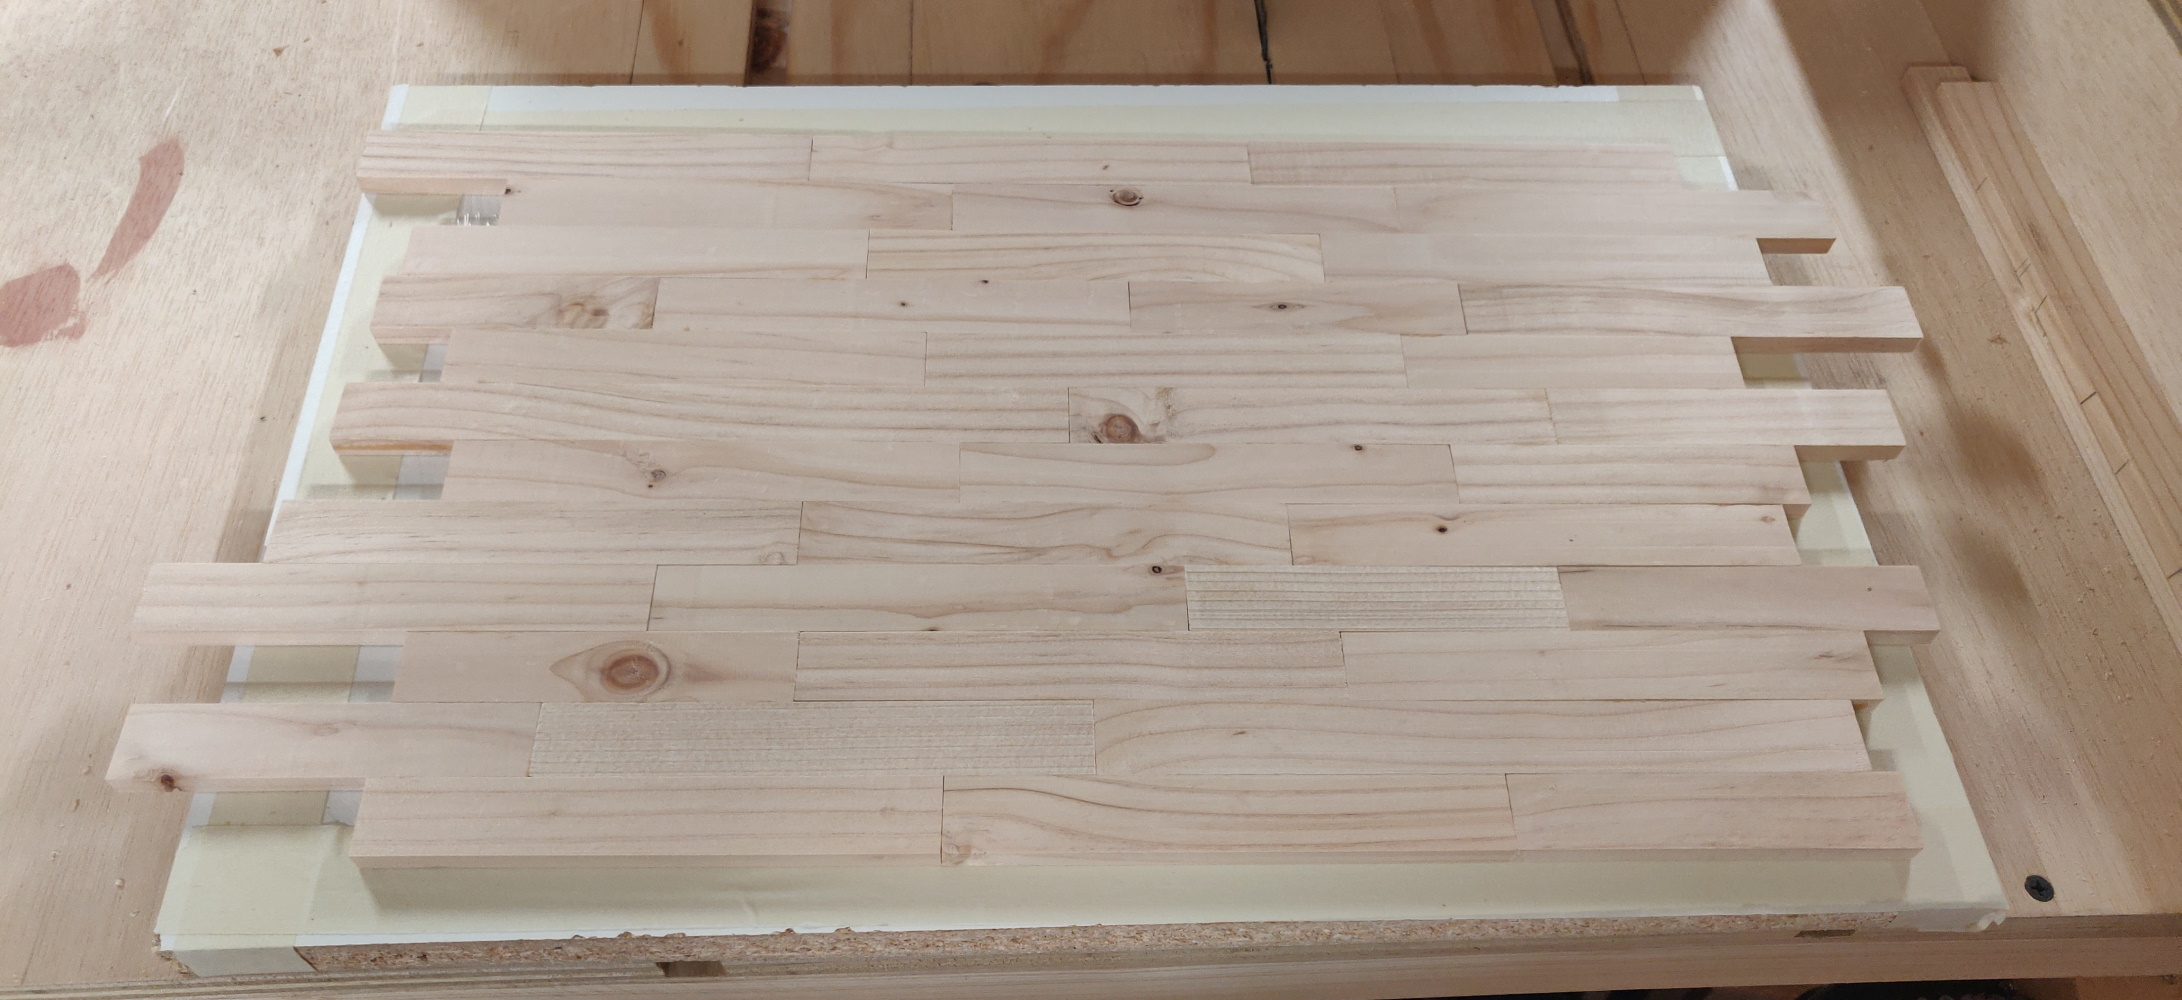
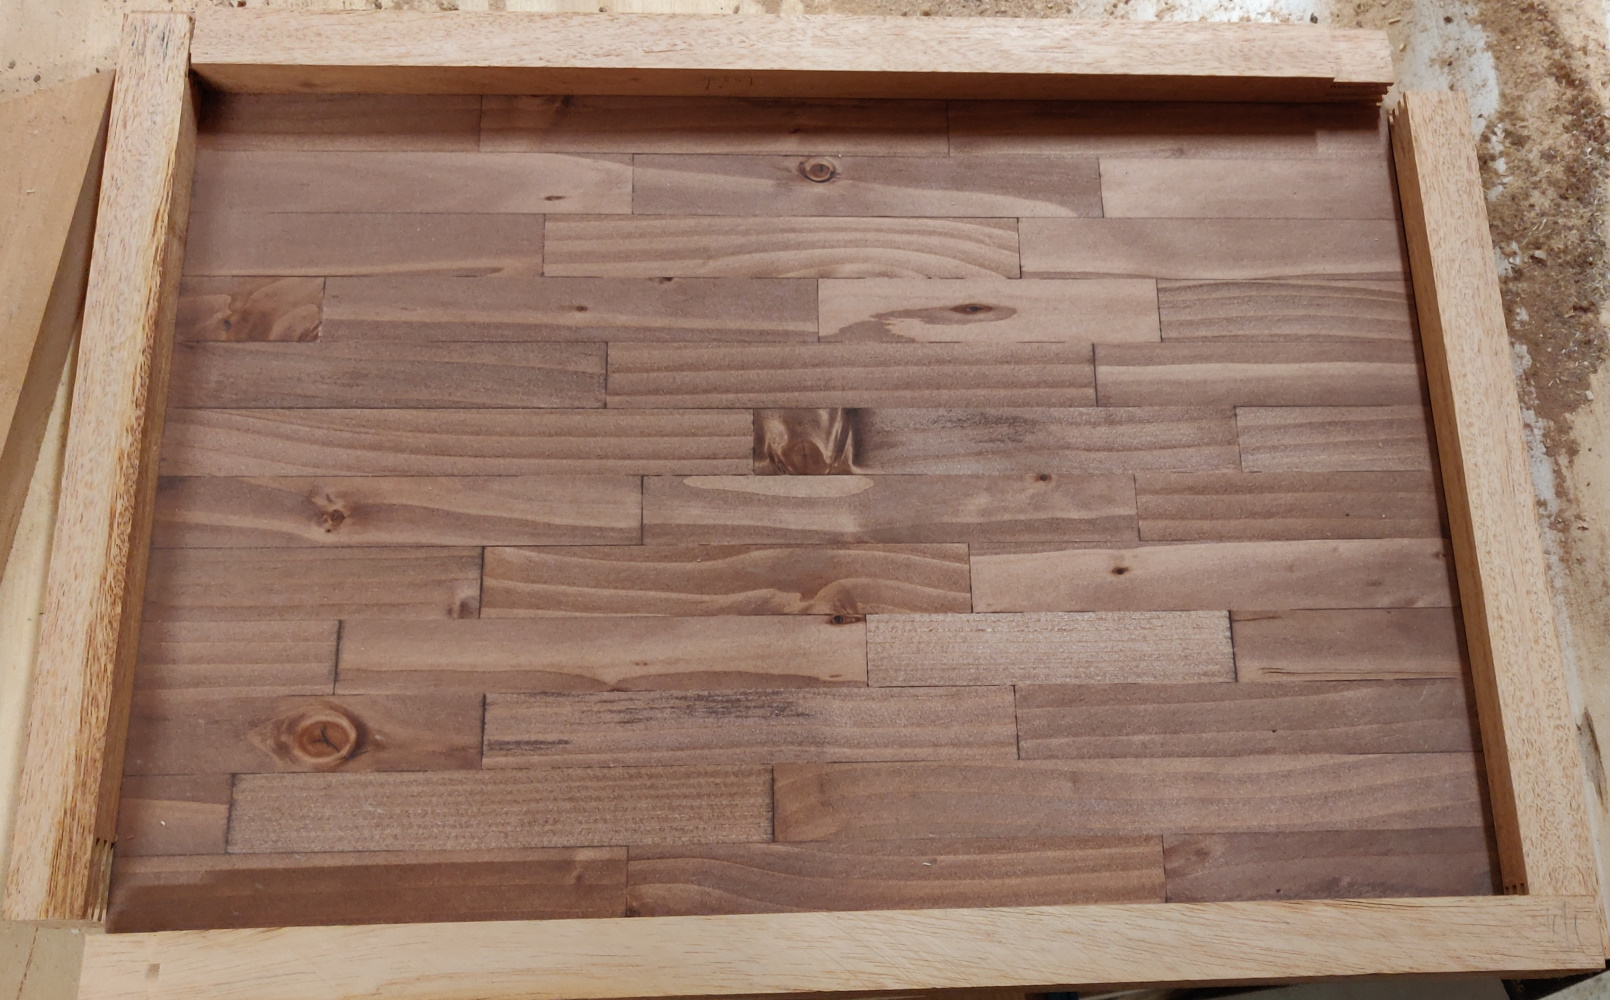
The first part of the actual build was to cut and plane all these pine pieces. They came from a never finished bench build, where I had cut off the rounded edges of some 2x4’s. All I had to do now was to remove the round parts of these cut-offs, plane the remaining rectangular parts, and then cut them to different lengths. After that I arranged them in no particular order, deliberately making the layout look random (my IT peeps know you never are as random as you think you are - but we don’t implement a password algorithm here, so who cares?…). To glue up the whole thing I put everything on a sheet of plastic food wrap, so any squeeze-out won’t glue the strips to the workbench.

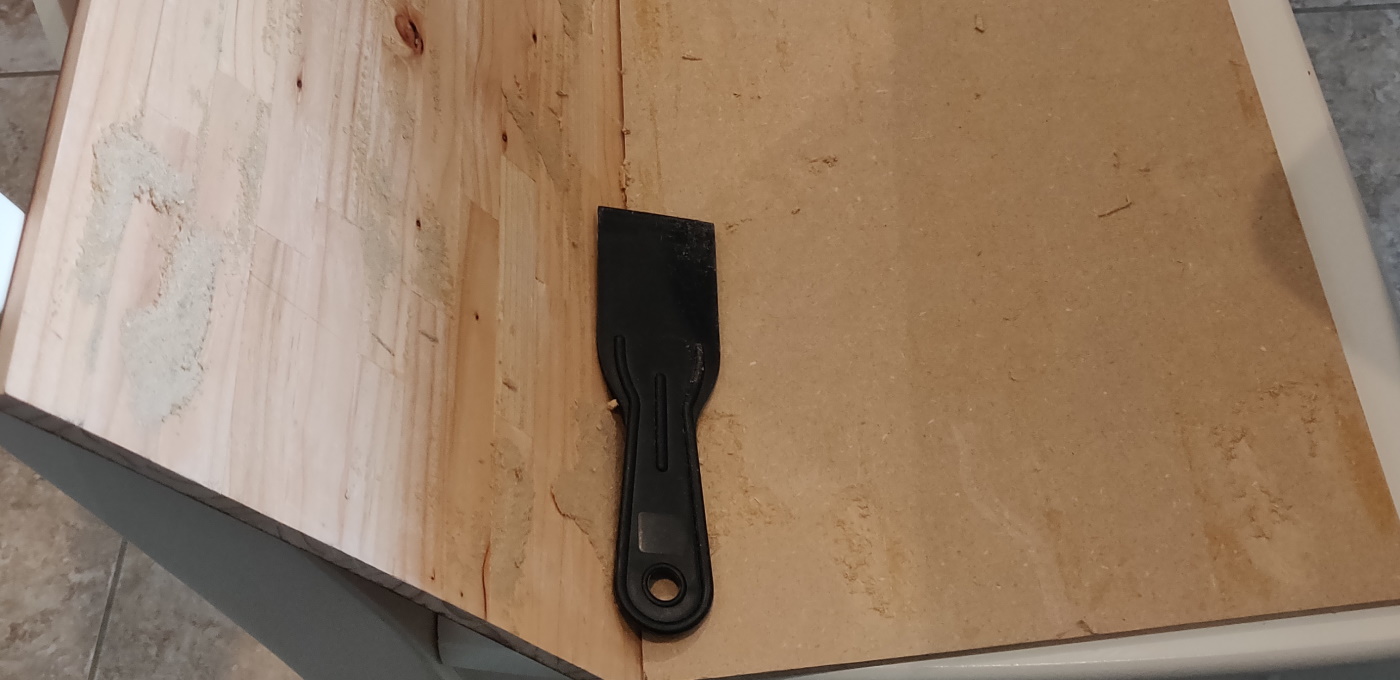
The back
As I’ve mentioned above I first tried to use 1/4in MDF as a backing board, but that backfired (I did introduce myself as a Dad, warning of the inevitable puns and jokes, right?): it didn’t prevent the laminated board from warping/cupping. So I actually had to undo the first attempt and then redo it with another backing board, this time with a piece of very stable plywood that I got from a construction site. This held up much better, though it also made the board almost 1/4 of an inch thicker (1/2in ply vs. 1/4in MDF)
After the glue-up was done I’ve cute the whole board to size, giving it its final rectangular shape and pushed it through the plane to make sure the edges are square (basically turning the planer into a jointer).

The frame
For the frame I’ve cut some leftover boards into strips about twice as thick as the board, so that the frame would have the board recessed, giving it a nice three-dimensional look. But the frame shouldn’t stick out so much that it would get in the way of things hanging on the hooks - or the vase.
To connect the pieces of the frame I chose finger joints, cut on the table saw with a simple jig I’ve made from some plywood scraps, and a cross cut sled. This was almost as exciting as running the pine and mahogany strips through my DIY planer.


To insert the board later I’ve routed out a rabbet deep enough to allow for some recessed screws put in the back to hold the board in place.
The vase holder
The vase - that was an idea I got when looking at the work of others. Somebody did something similar with their project, though in a different context and a different way. But I knew I wanted to incorporate that, though my wife first didn’t think the same way. But apparently that changed later… ![]()
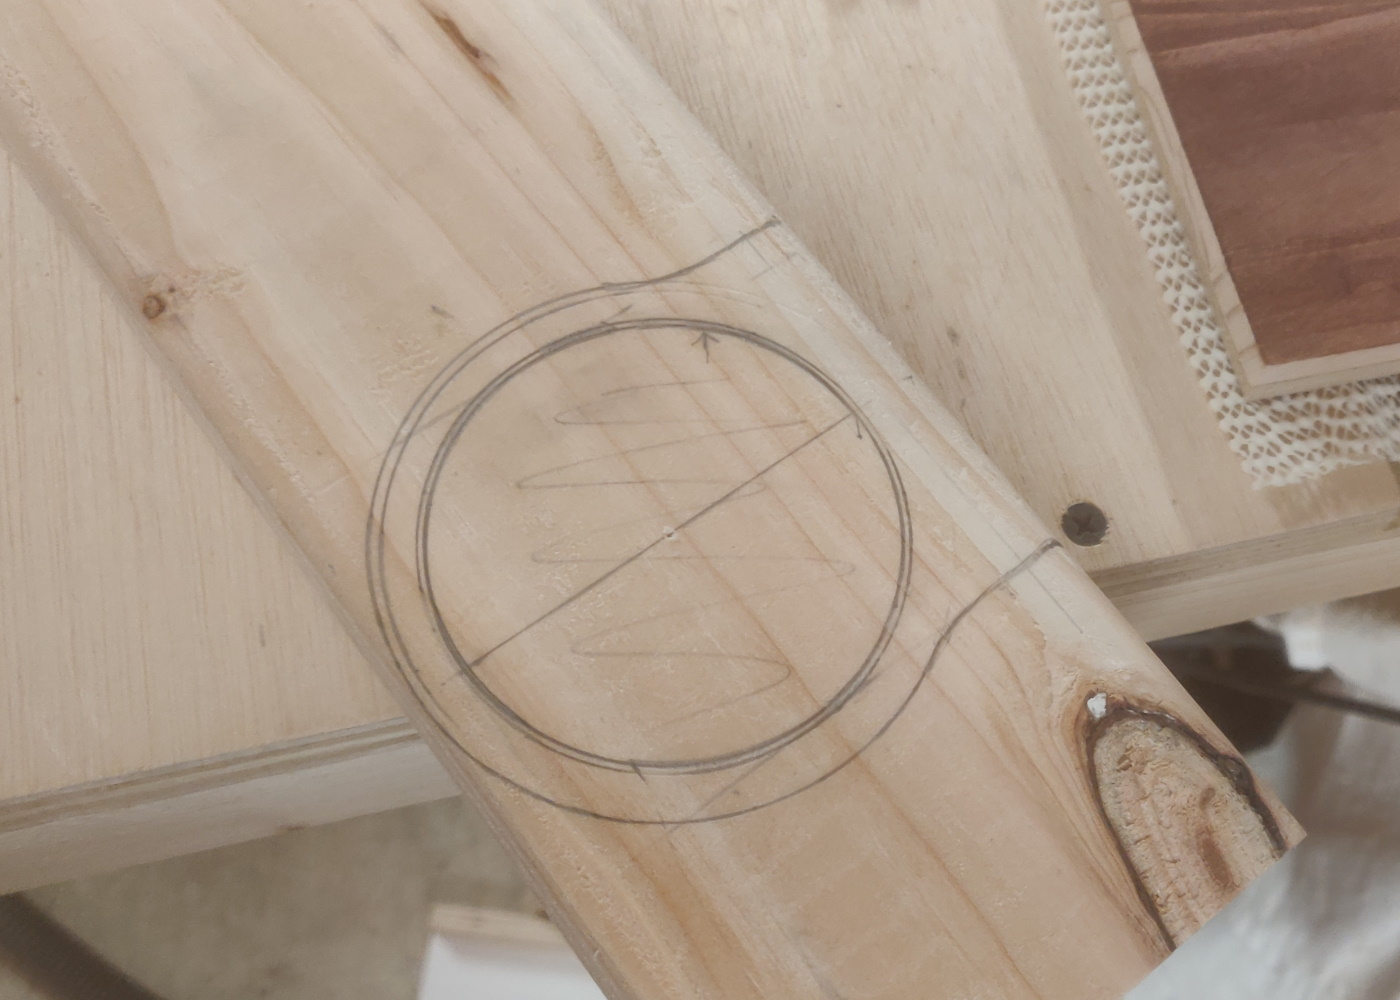
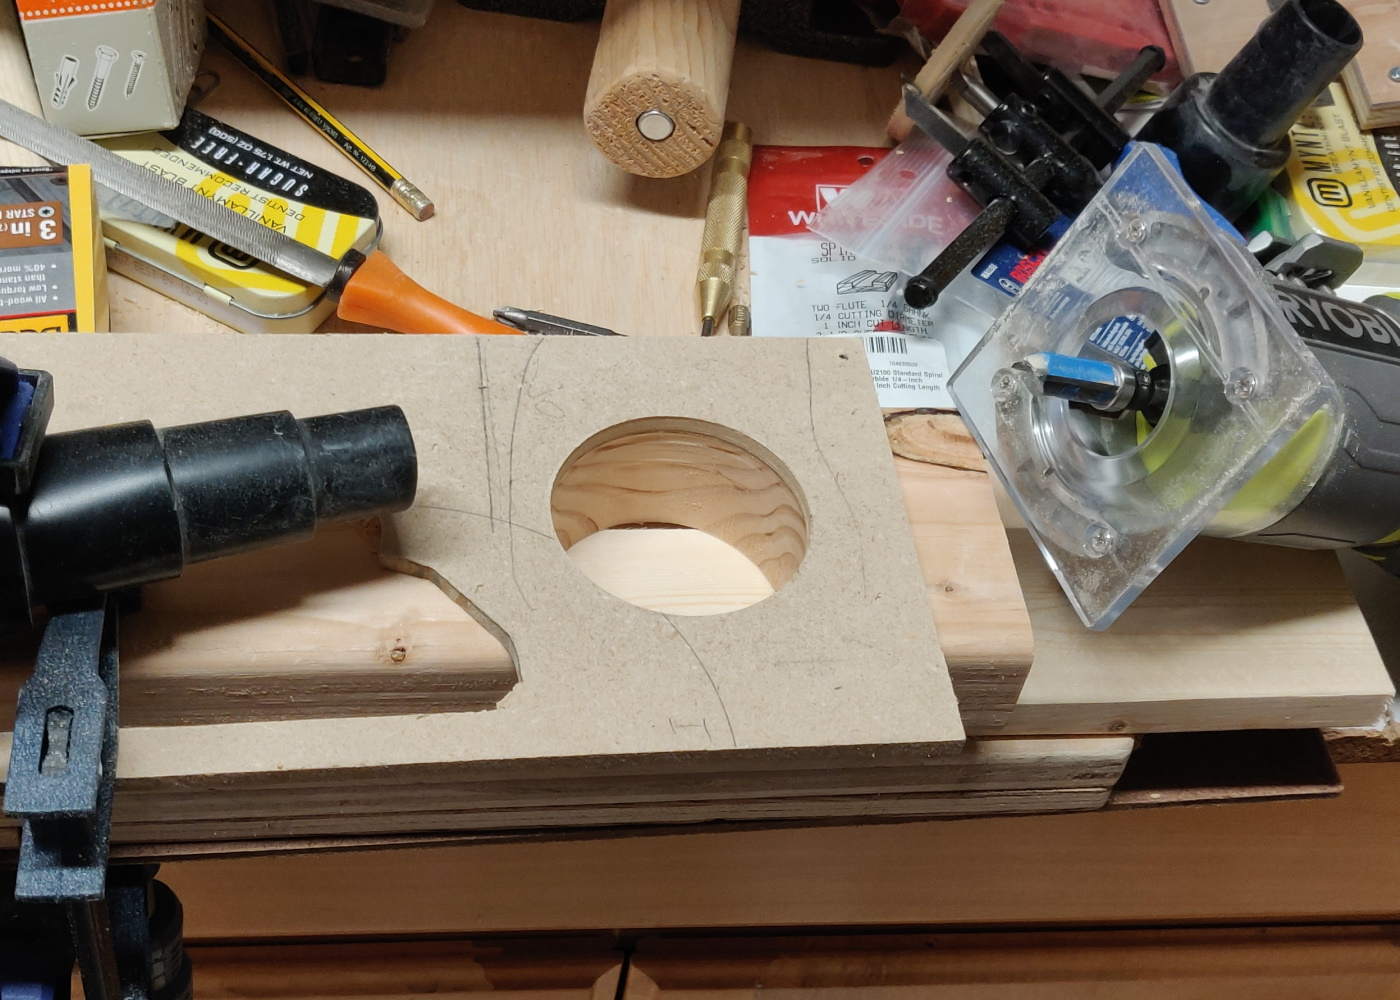
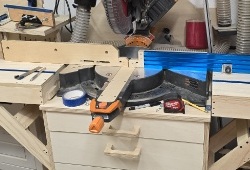
Once I was sure how I wanted the holder to look I took a pencil and a compass, drew the shape on a 2x4 cut-off drilled/routed out the inner hole. I drilled some holes along the inner side of the circle, removed most of the waste with the jigsaw and then cleaned it up with a router. I used a simple MDF template, (after verifying its fit with the mason jar), and a trim bit in my trim router to get a perfect circular hole.
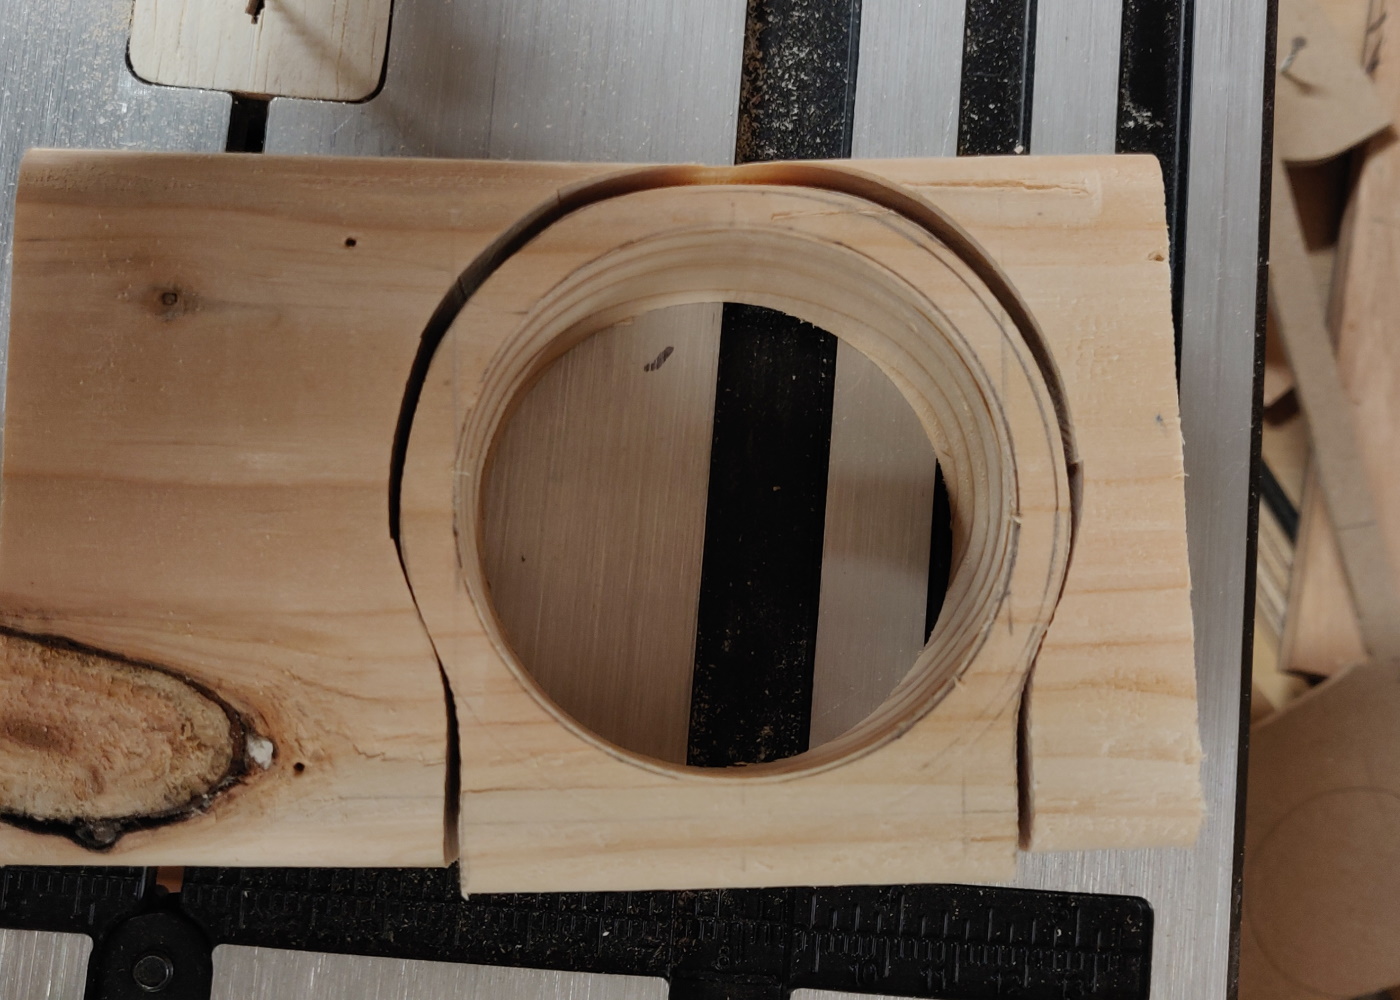
Then I took to block to the bandsaw. This was actually the very first real workpiece I made on the bandsaw. After a surprisingly clean cut, that was already as good as it needed to be, I sanded it smooth on all sides and rounded all exposed edges.
The stain
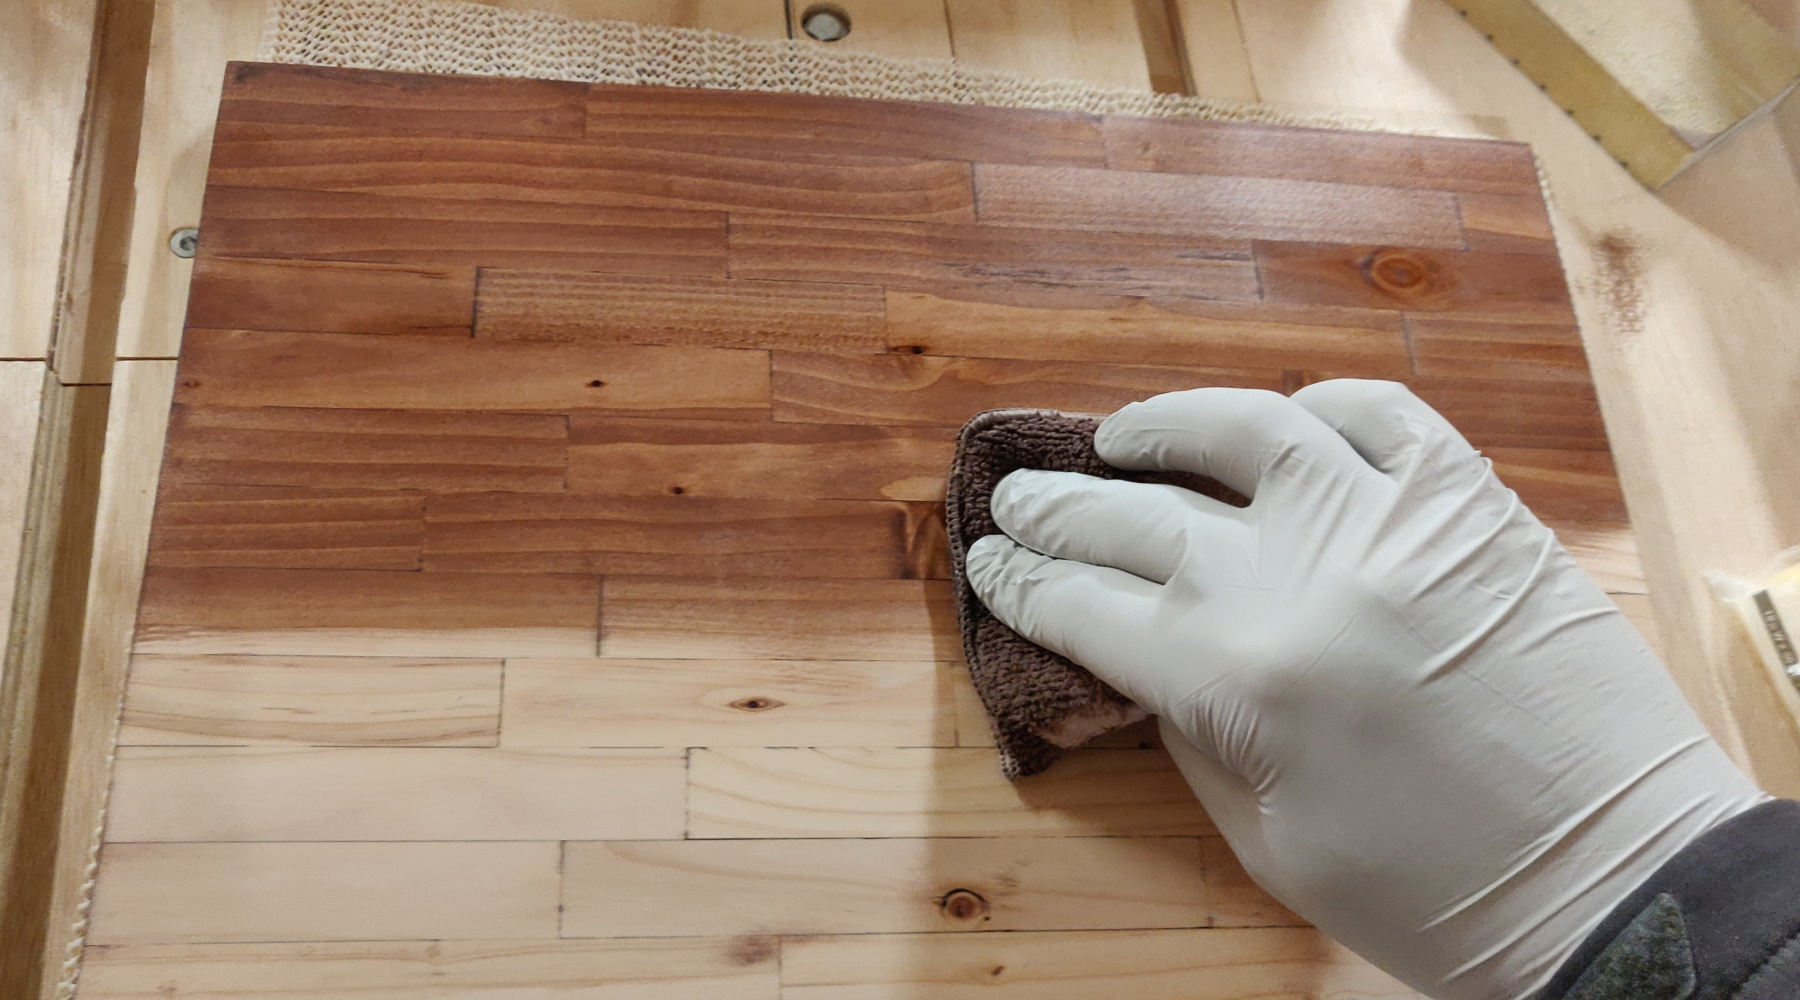
The color of the frame I liked as it was, but the very bright pine needed something that would give it a more elegant look, like actual walnut. So I got some walnut-colored stain and Wiped it onto the front of the board as well as the vase holder.
First attempt
Unfortunately I didn’t know about pre-stain or wood conditioner, so of course this first try didn’t quite look even close to what I had in mind. It looked very blotchy and uneven. So I took to the sander and sanded almost all of the stain off. In some of the joints between the individual strips the stain wouldn’t fully go away so I left it at that. Later this turned out to be a good decision…
Second attempt
Now that I knew how to do it right I applied the conditioner first, then the stain again, and everything was good then, right?
Of course not.
Somehow I managed to scratch the surface so badly, that I again had to sand it, thereby removing most of the stain again. I don’t even know what exactly I did to cause the scratches - I guess I had something laying on top and then moved it around or so. ![]()
Third attempt
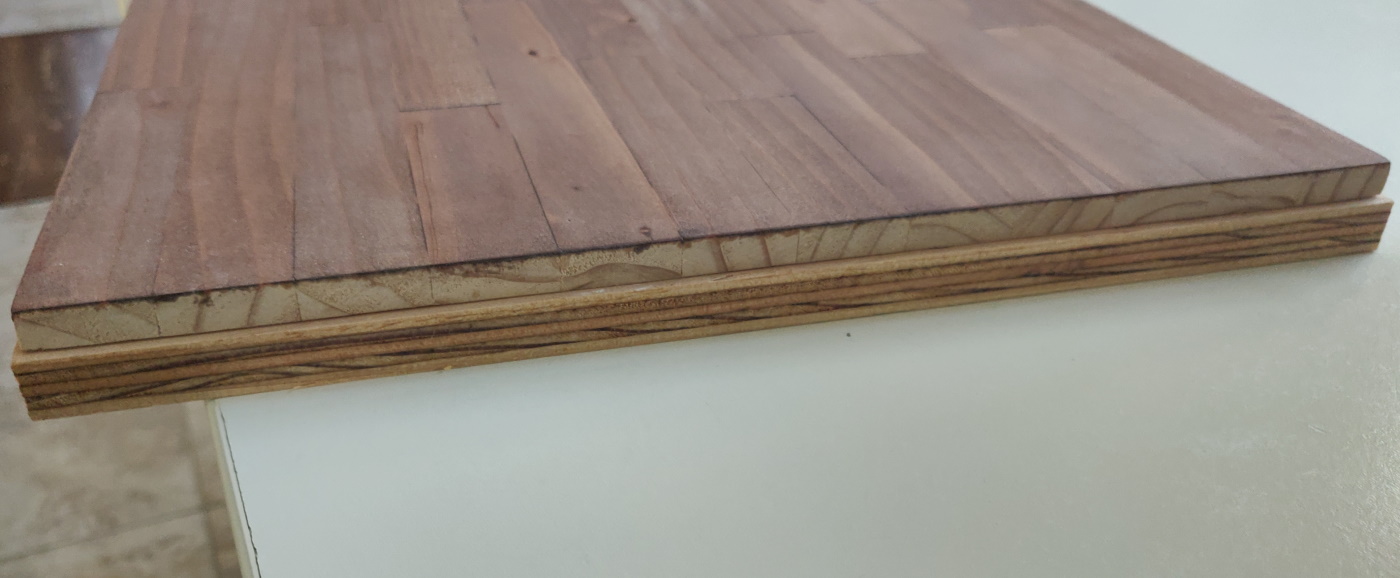
Rinse and repeat. Applying the conditioner again, then the stain, this time being really careful not to damage anything, handling the board with kid gloves. And this time it worked out very well. Also it turned out, that due to the seems between the pine strips having gotten more stain than the faces they made each strip stand out on its own, letting them look more distinguished. It also seem to make the faces look lighter, so the overall appearance gets closer to that of the frame. On top of that the little bit of stain that remained in the grain after sanding off the first two attempts also made the grain pop a little more than it would have with just one layer.
Though the vase holder didn’t look as bad I decided to give it another layer of stain, but without sanding the first one of. This made it look darker than the board it was going to be mounted to, but that was fine with me, it makes for a nice accent.
The finish
Before putting on the clear coat I sanded all pieces to break the edges and round of the corners, and except for the front sanded all remaining surfaces really smooth.
As the final finish I’ve used a very thin, water-based clear coat, a satin polyurethane, that went onto the pieces very easily - and only needed 2 coats to give the look that I was going for. It has a very little sheen to it, just enough to make the wood not look flat, but also preserved the colors very well.

The hardware
For the hooks I pre-drilled some small holes in the front of the board - unfortunately a little too tight. This resulted in one of the screws, that hold the hooks in place, breaking off, forcing me to drill the tip out from the back of the board. Luckily it didn’t make too much of a mess, so the slightly larger replacement screw went in just fine.
The back has two picture holders screwed on which go onto hooks when mounting the key rack on the wall. The Vase holder is just screwed to the board from behind.
Conclusion
Boy, that project did cost me quite some nerves. The part that I’ve expected to be the most difficult - the vase holder - actually went really smooth. But the simple task of staining the front of the board? That turned a serious challenge. And the rabbet on the back of the frame? That almost made me give up entirely as I couldn’t figure out a way to safely route that after putting the pieces together. I ended up getting an offset trim bit for the router, and then took off small amounts of material at a time. And still, I never felt as safe as I would have preferred to…
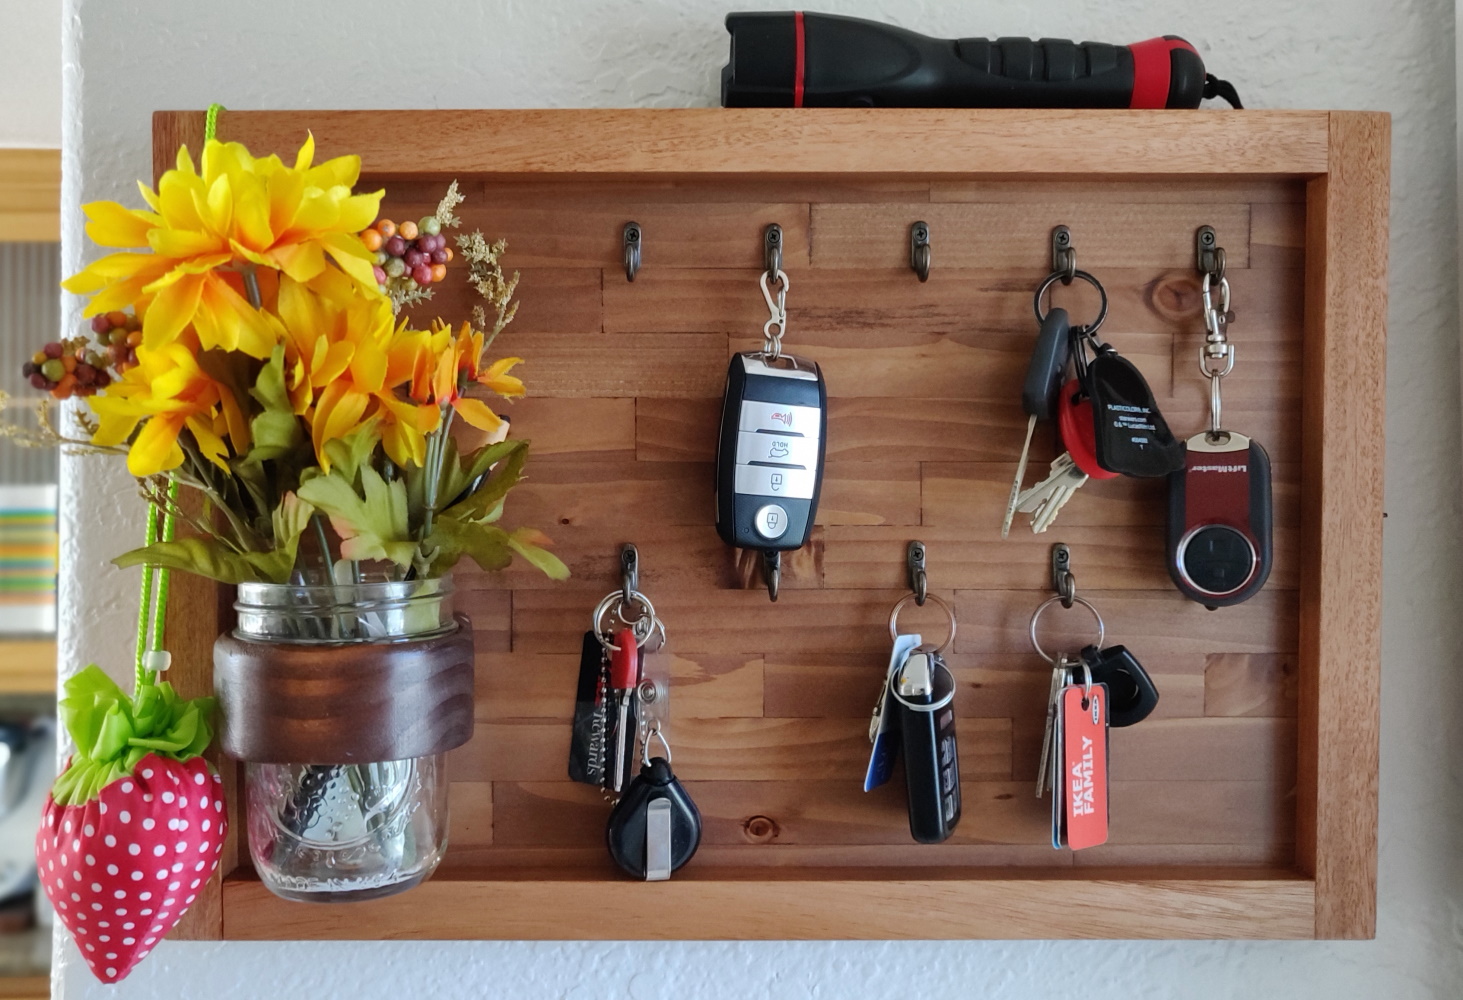
 However, the end result I find quite appealing, and so does my wife. Where I thought of the mason jar of more like a pen holder, or something where other small items can be stored, my wife looked at it and said “it’s a vase, let’s put some flowers in!”
Now we have artificial flowers in that get replaced avery season, and I honestly like it a lot better than I expected. ![]()
The one thing that isn’t really related to the build process, that I learned, is that I shouldn’t have put the hooks in two rows aligned the same way. The lower row should have an offset of half the distance between the hooks, putting the lower hooks in the middle between those above.
Comments