Making Halloween Lawn Decorations from Construction Plywood - with my Kid
About 6 weeks before Halloween this year my 7yo son came to me and said: “Daddy, can we have some decorations for Halloween on the lawn and the porch? You know, you could, maybe, make some in your workshop!”
So I said: “That’s a great idea, but - you gotta help me with this so we get this done before Halloween. Alright?”
Of course he said “yes” and did get to “work” right away…
Brainstorming
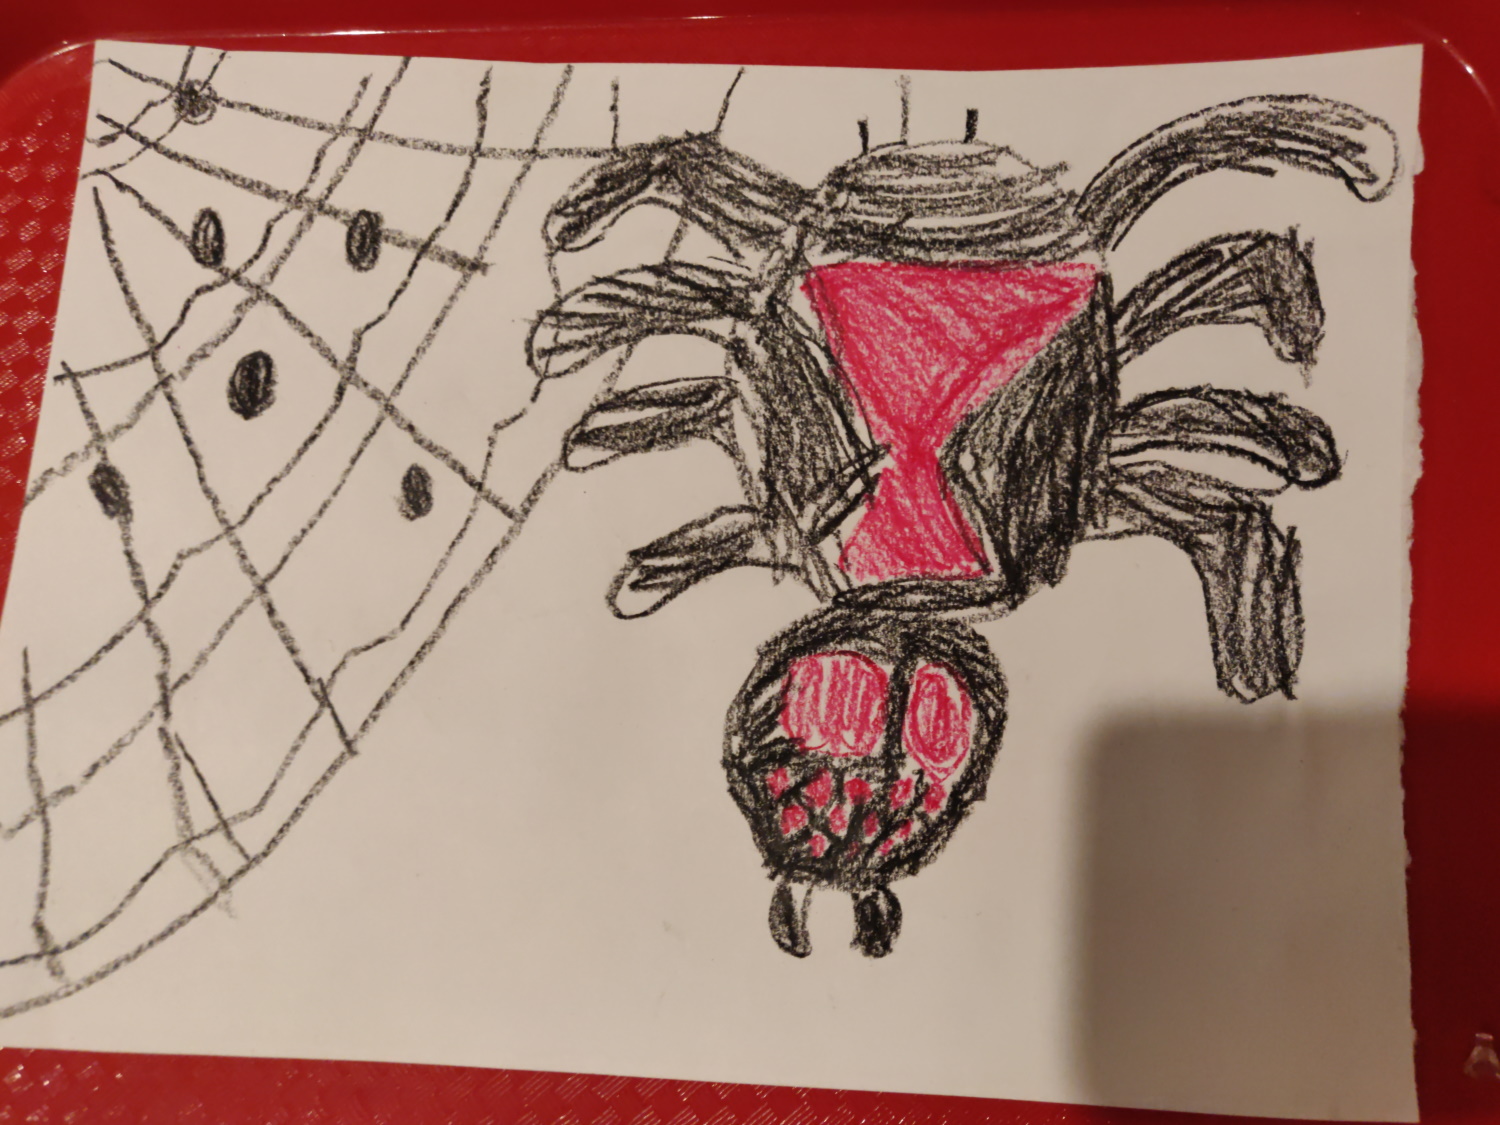
First I’ve asked him to think about what he actually wanted, and then to draw some sketches on paper, so we can assess what resources we would need. He came up with a list of items:
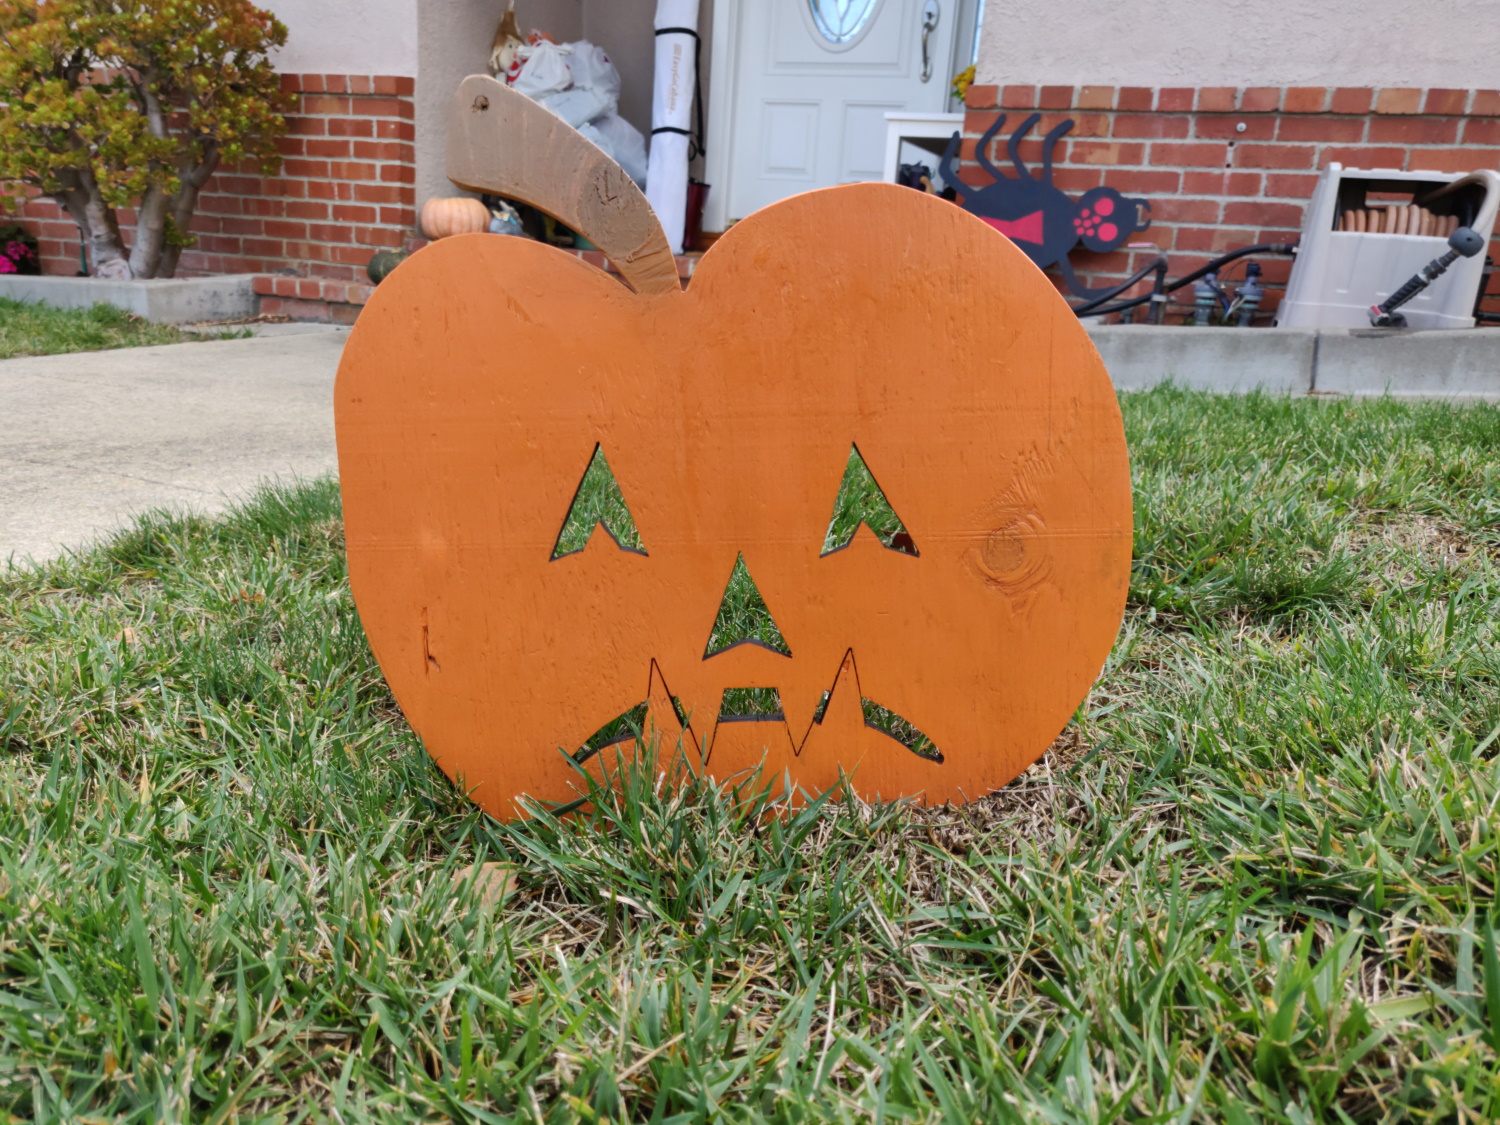
- three Pumpkins
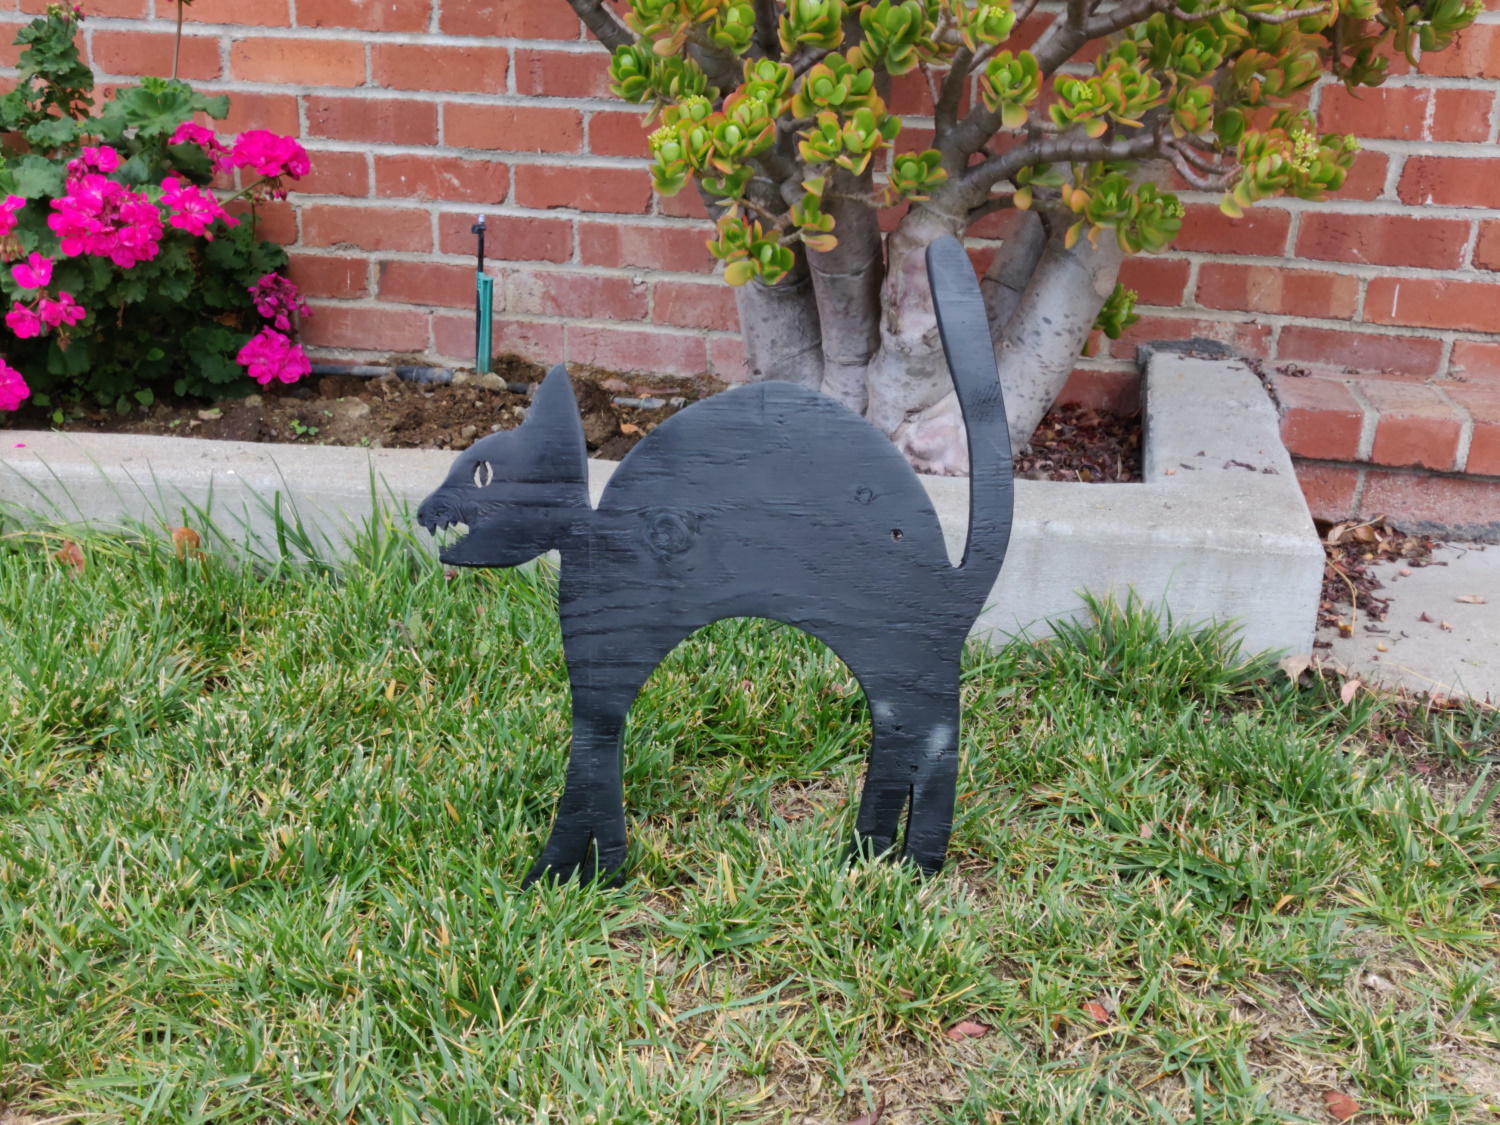
- a cat
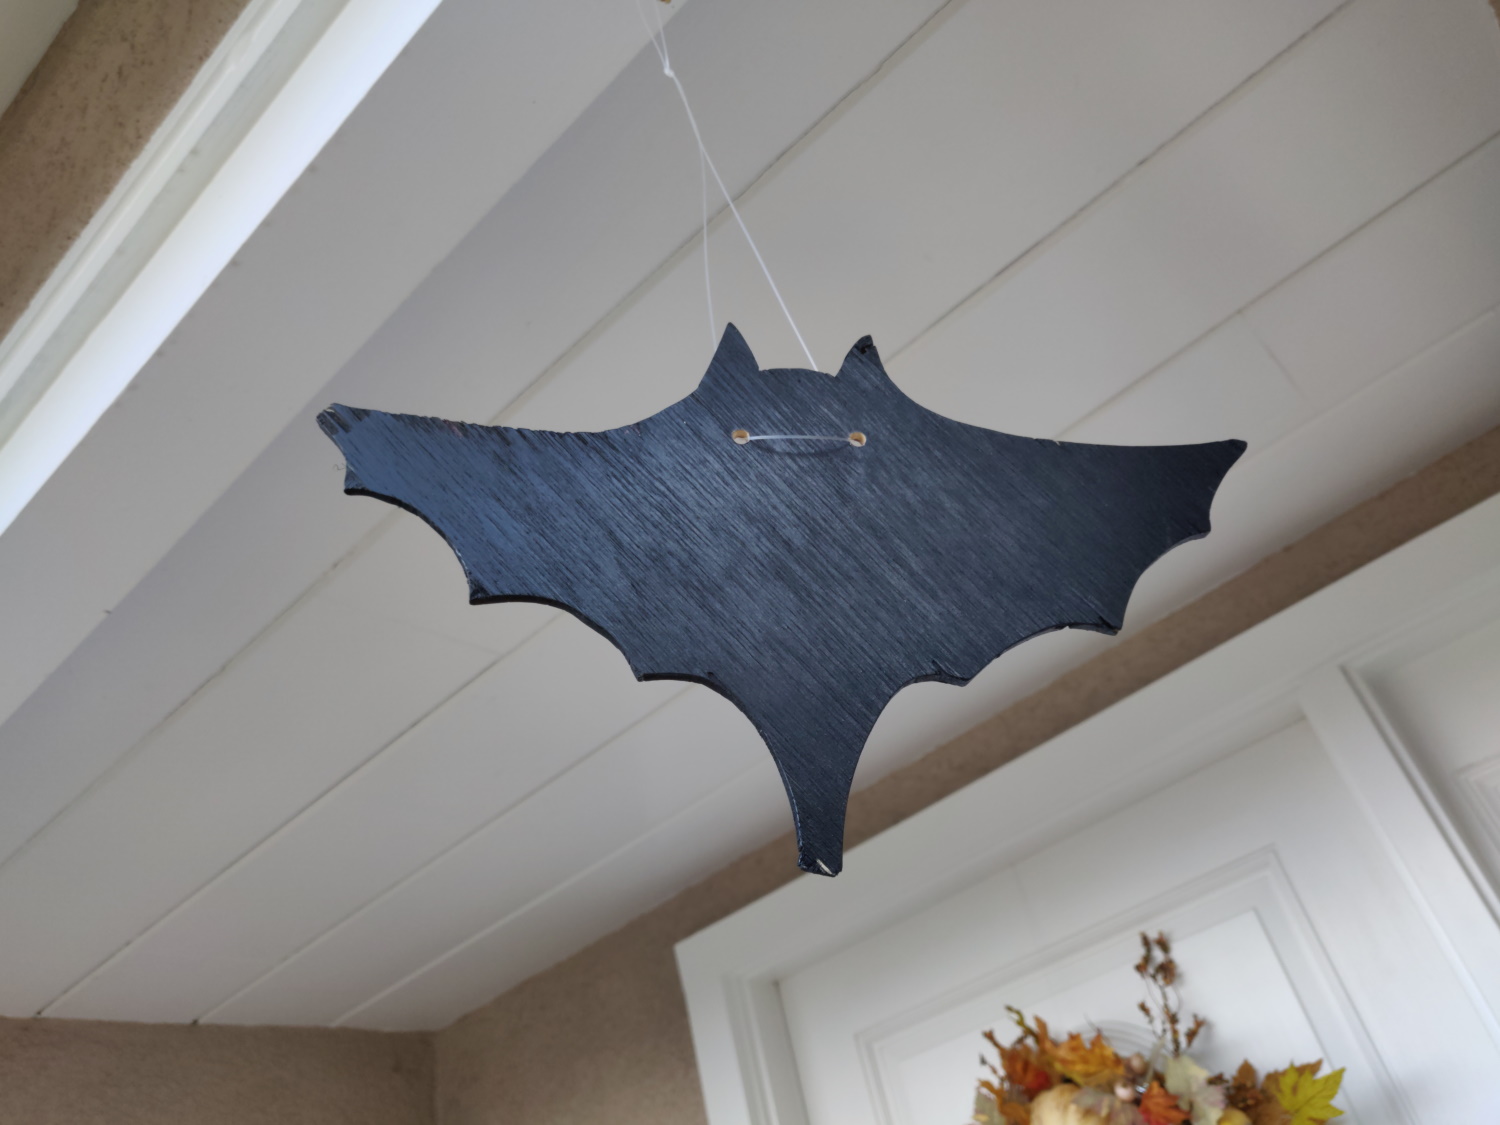
- some bats
- a ghost
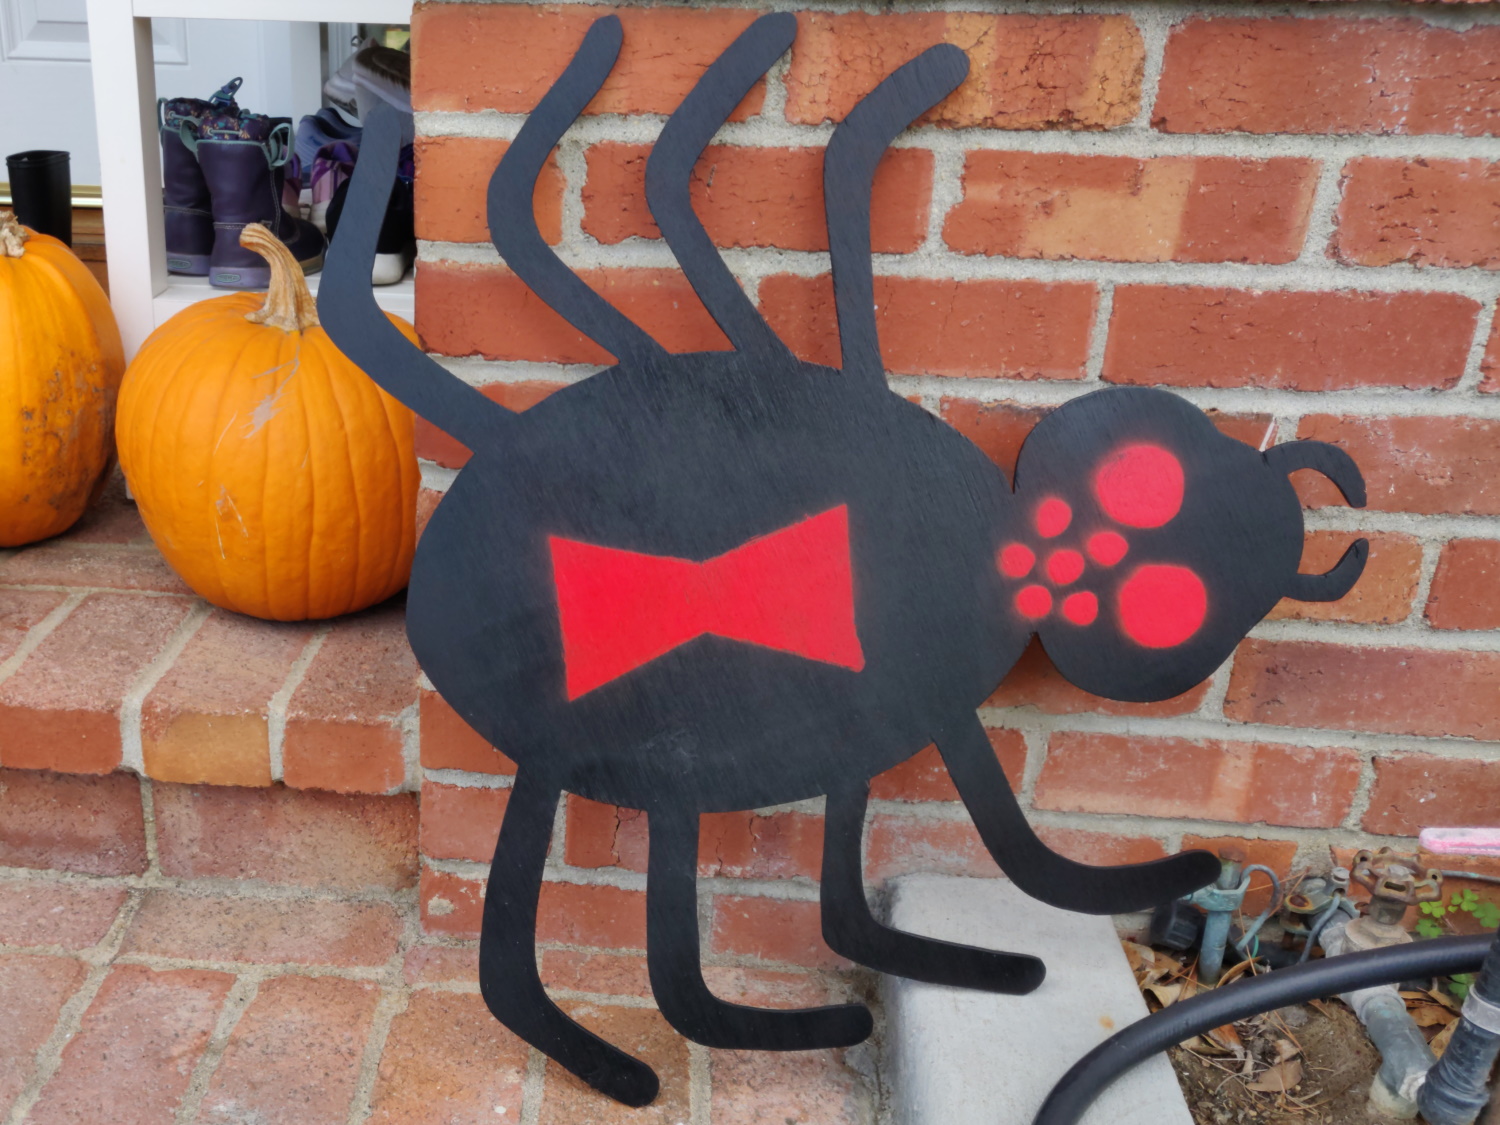
- a spider
Once he scribbled them on some sheets of paper we thought about how big all of that was supposed to get, where we were going to put them, and what materials we would actually need.
Materials
Lucky me again got some 5/8in plywood from a construction site that was about to be thrown away there. I’ve also collected some other pieces from a household that had their garage shelves removed and were giving away some boards, too. Given that my wife also asked for a decorative piece I knew that we needed about one full sheet.
Tools
Since I was going to work on this project with a seven years old child (and sometimes a 4yo was around, too) I wanted to keep it to the small tools - no table saw, no miter saw etc. Just the good old jigsaw and a power drill.
Well, we actually did use the bandsaw for cutting the bats out of 1/4in plywood, but this is probably the one larger tool of the bunch that is the safest for kids to use - under permanent direction and supervision, of course.
Another reason to not use the bigger saws or the router was the quality of the material respectively the fact that it was used on the ground on a construction site: while the wood itself was not bad, it had quite some nails, brads, staples and even some small rocks embedded, all of which could lead to disaster when coming in contact with large, powerful, spinning blades.
Besides that I just needed sandpaper as well as a some pencils.
Paint
For coloring the pieces I’ve got cans spray paint in several colors as well as clear enamel spray, all in a satin finish, from the big box store. The colors were orange, red, black, white, yellow, green and brown. Besides the some parts of one of the pumpkins everything was sprayed directly onto the plywood. The clear coat was put on all surfaces of the workpieces to seal them off from the weather, or any kind of humidity.
Hardware
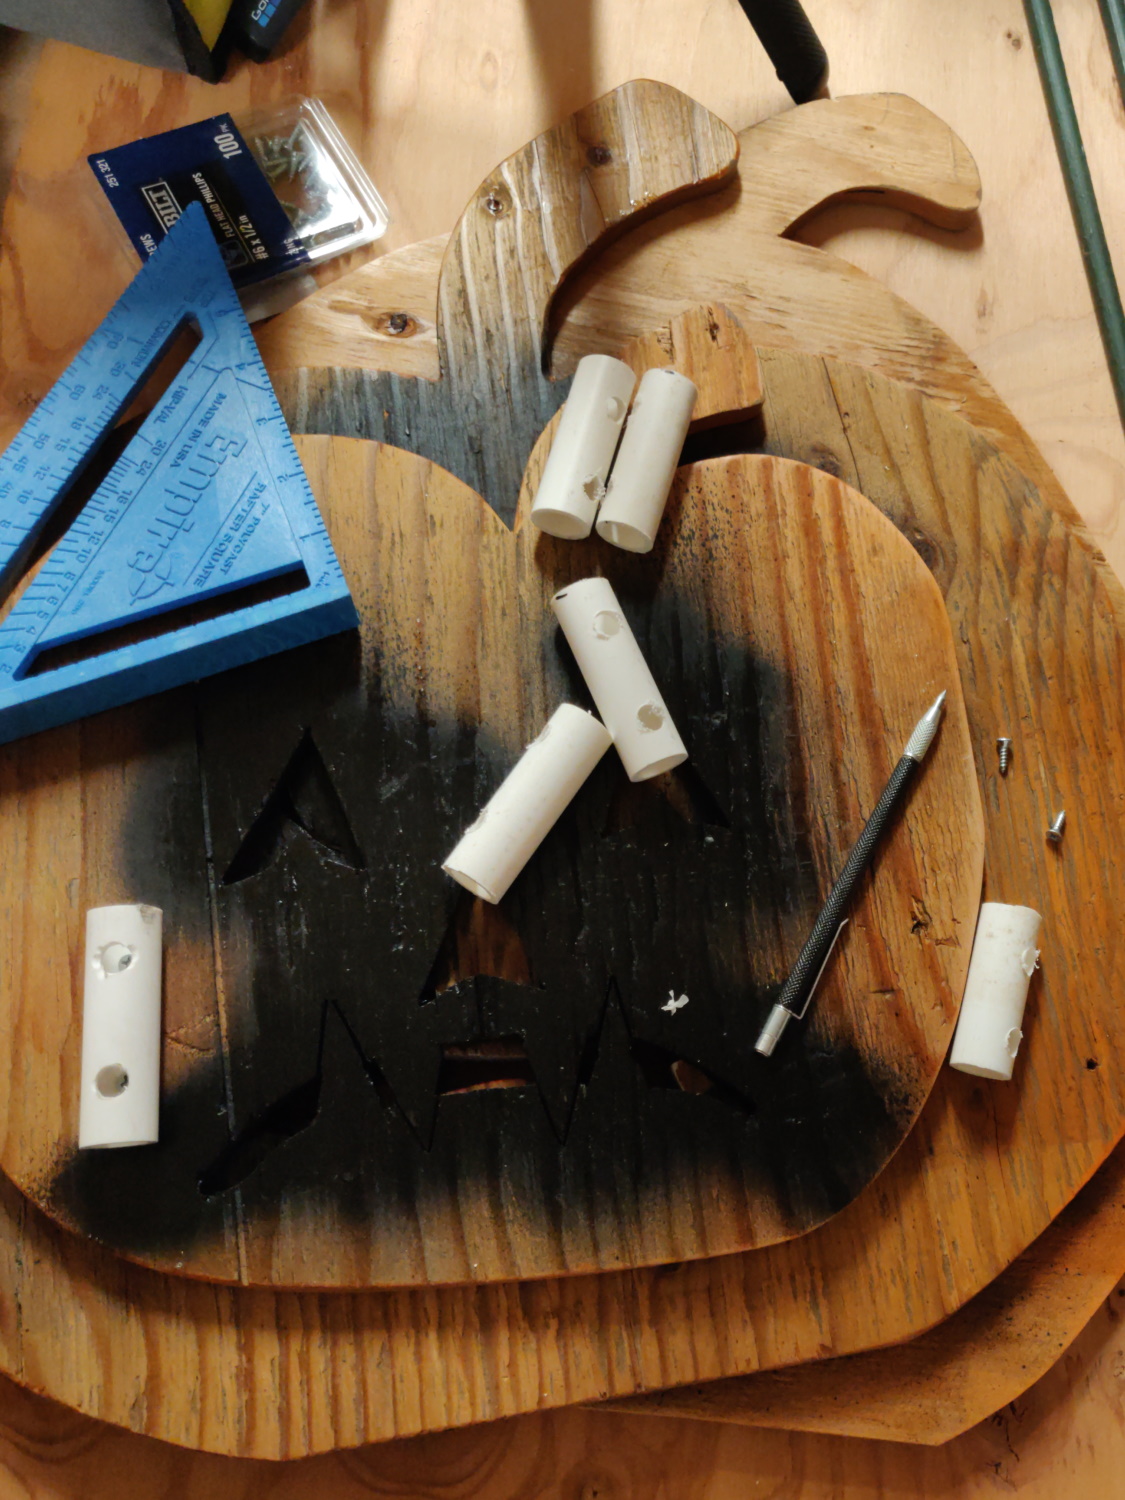
Since some of the pieces were supposed to go on the lawn we needed a way to “mount” them. I actually found 2 ways with the stuff I had laying around:
- a remainder of 1/2in PVC Schedule 40 pipe, cut into shorter pieces somewhere between 2 and 2 1/2 inches long
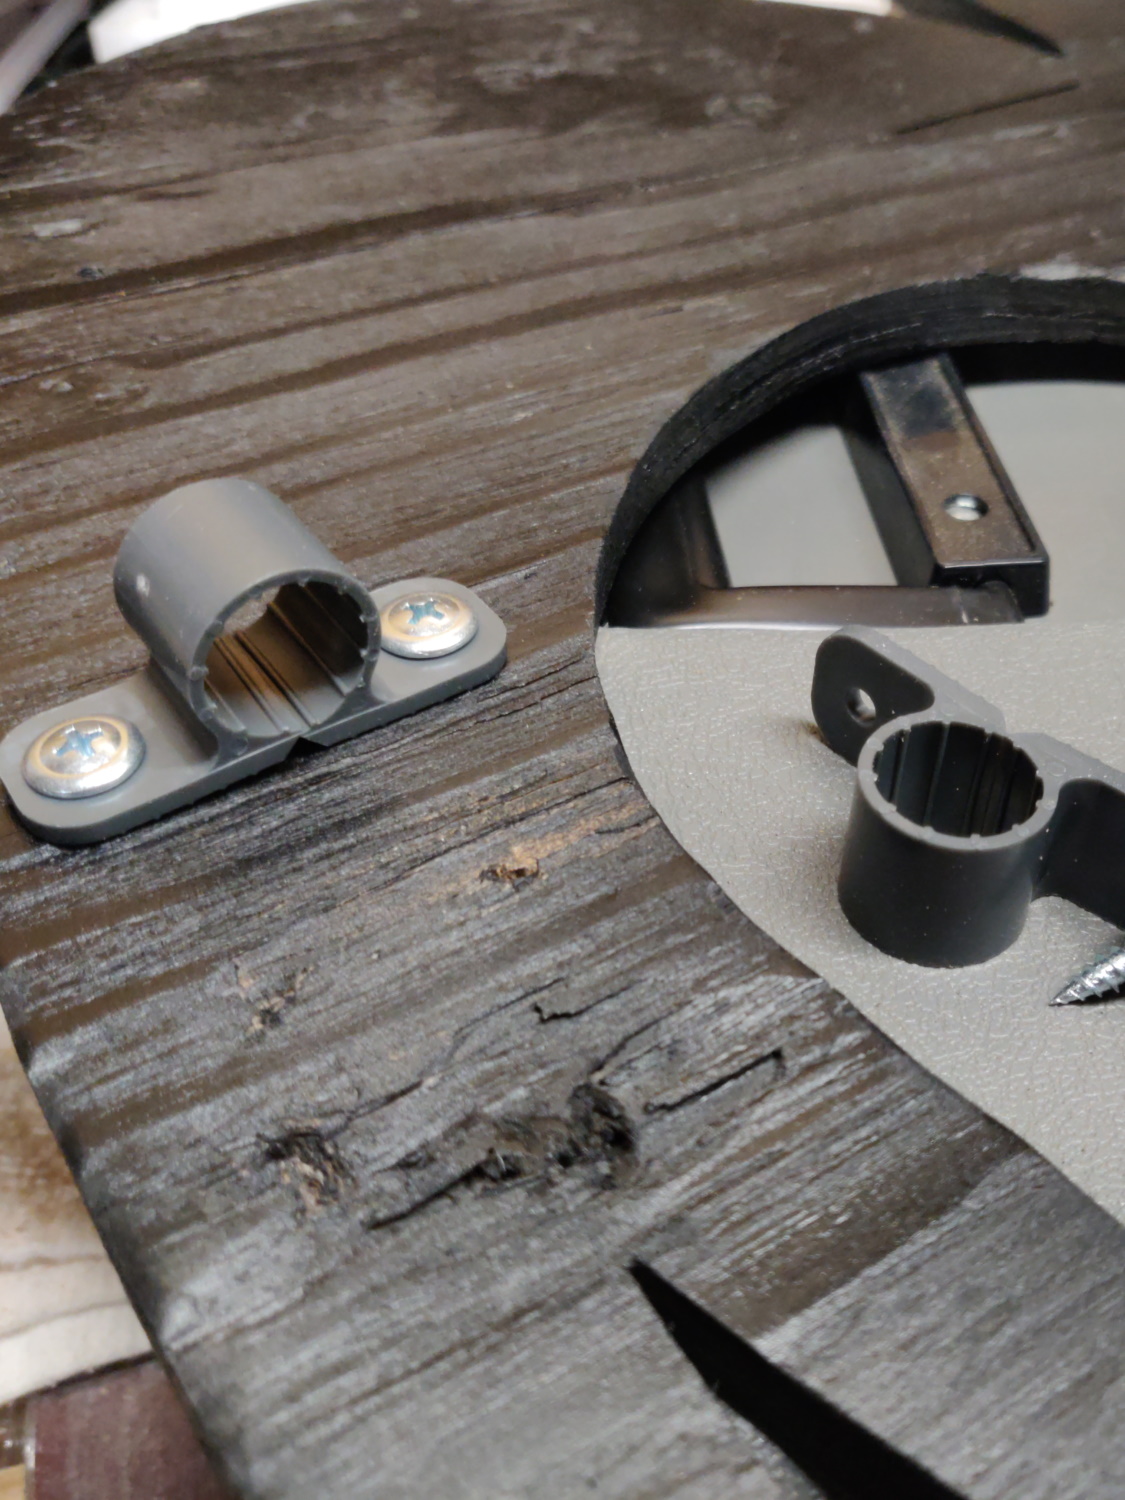
- some plastic pipe straps that I had laying around from when I secured some pipes to wooden beams underneath the house
Both kinds were screwed onto the boards from behind, allowing to slide them (with the board they were attached to) over plant stakes that were driven into the ground. These stake my wife got me from her gardening equipment - after I promised to give them back once we take the decorations inside again…
The build
Drawing
Once we had a better idea what we were going to build we started transferring the sketches from paper onto the plywood. My son drew one of the pumpkins and the bat(s). I’ve added two more pumpkins, the spider and the cat. The latter two were also based on my sons drawing.

The bat he actually drew on a piece of card board first which I then cut on the bandsaw before hew used it to outline three of these on a thinner sheet of plywood. Everything else went onto the thicker construction plywood, while we were trying to use it as economical as possible.
Cutting
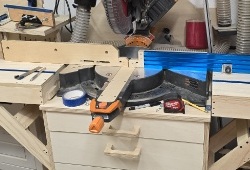
The cutting was unspectacular: following the lines with the jigsaw, sometimes drilling a hole first as a starter for narrow cutouts. For the bats and parts of the spider I used the bandsaw - just because I have it and it was easier. Though I could have get by with just the jigsaw if I wanted, too. A scroll saw would also work, at least for the thinner material.

It is more important to use saw blades that are made for your respective material, sharp, and thin enough to cut narrow turns, as well as taking time when moving the saw (or the workpiece).
Painting
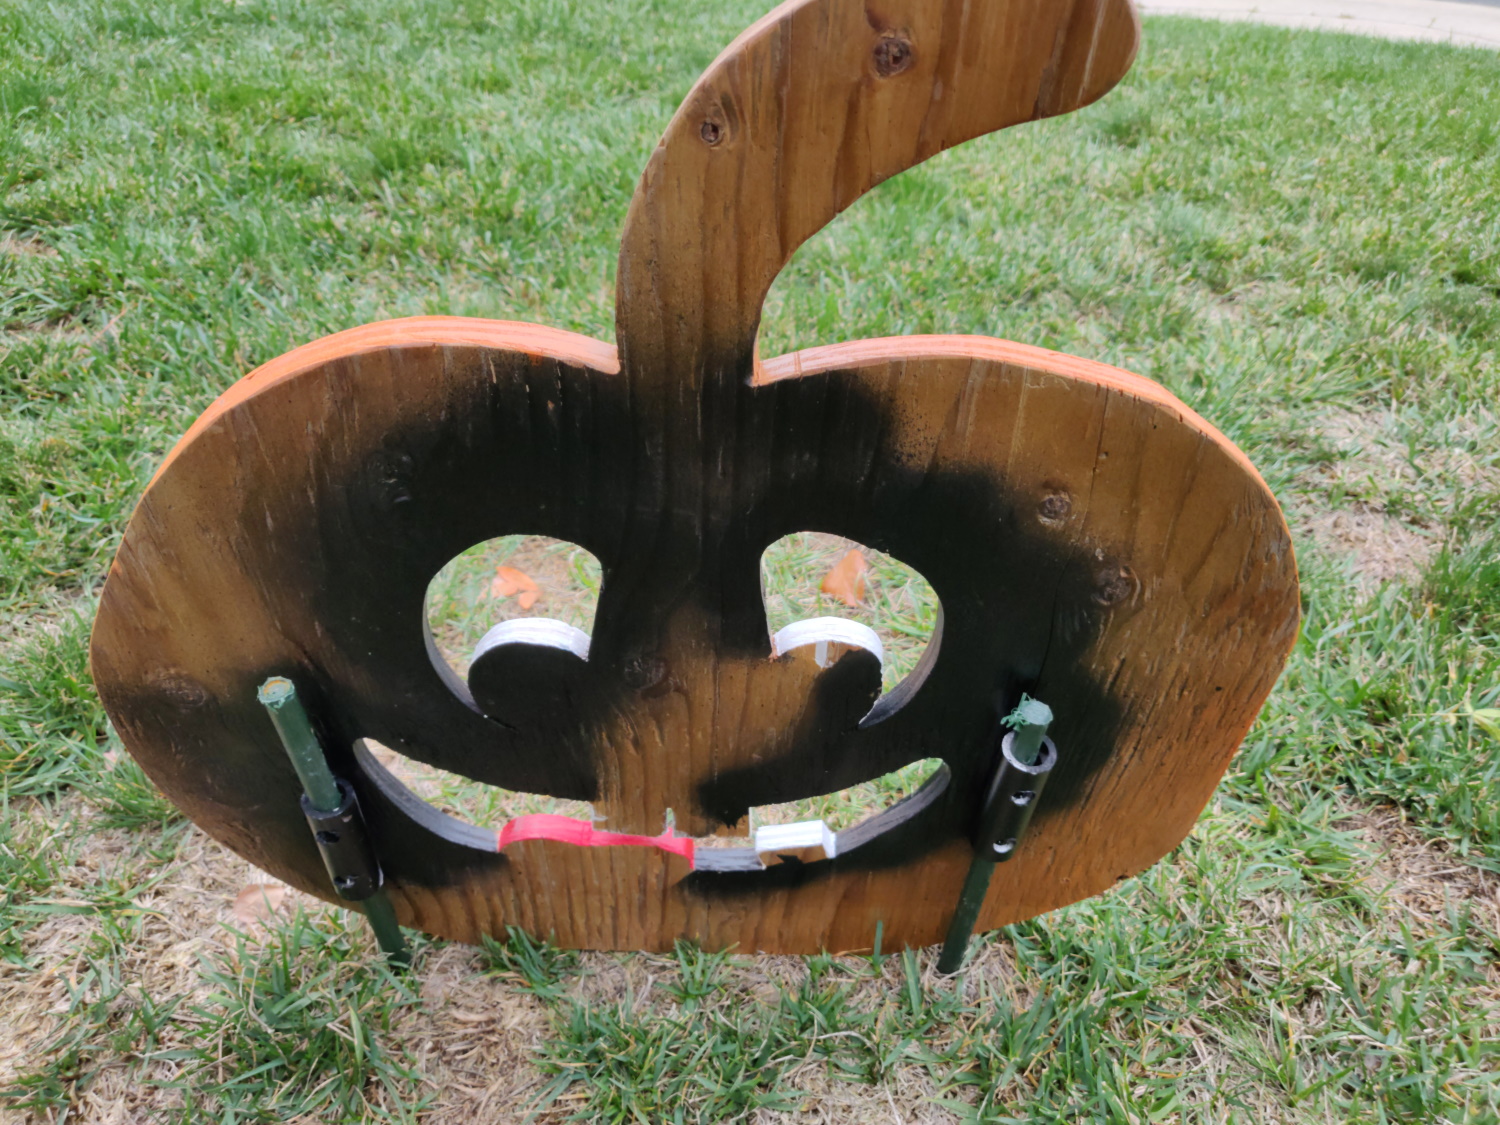
To get the paint on we just placed the pieces on a large liner of cardboard and sprayed them with the cans until we had the desired look. For the pumpkins we needed to apply just a plain color on the front, another color on their stems, and the cutouts in their faces we blacked out from behind so they would not interfere with the fronts.

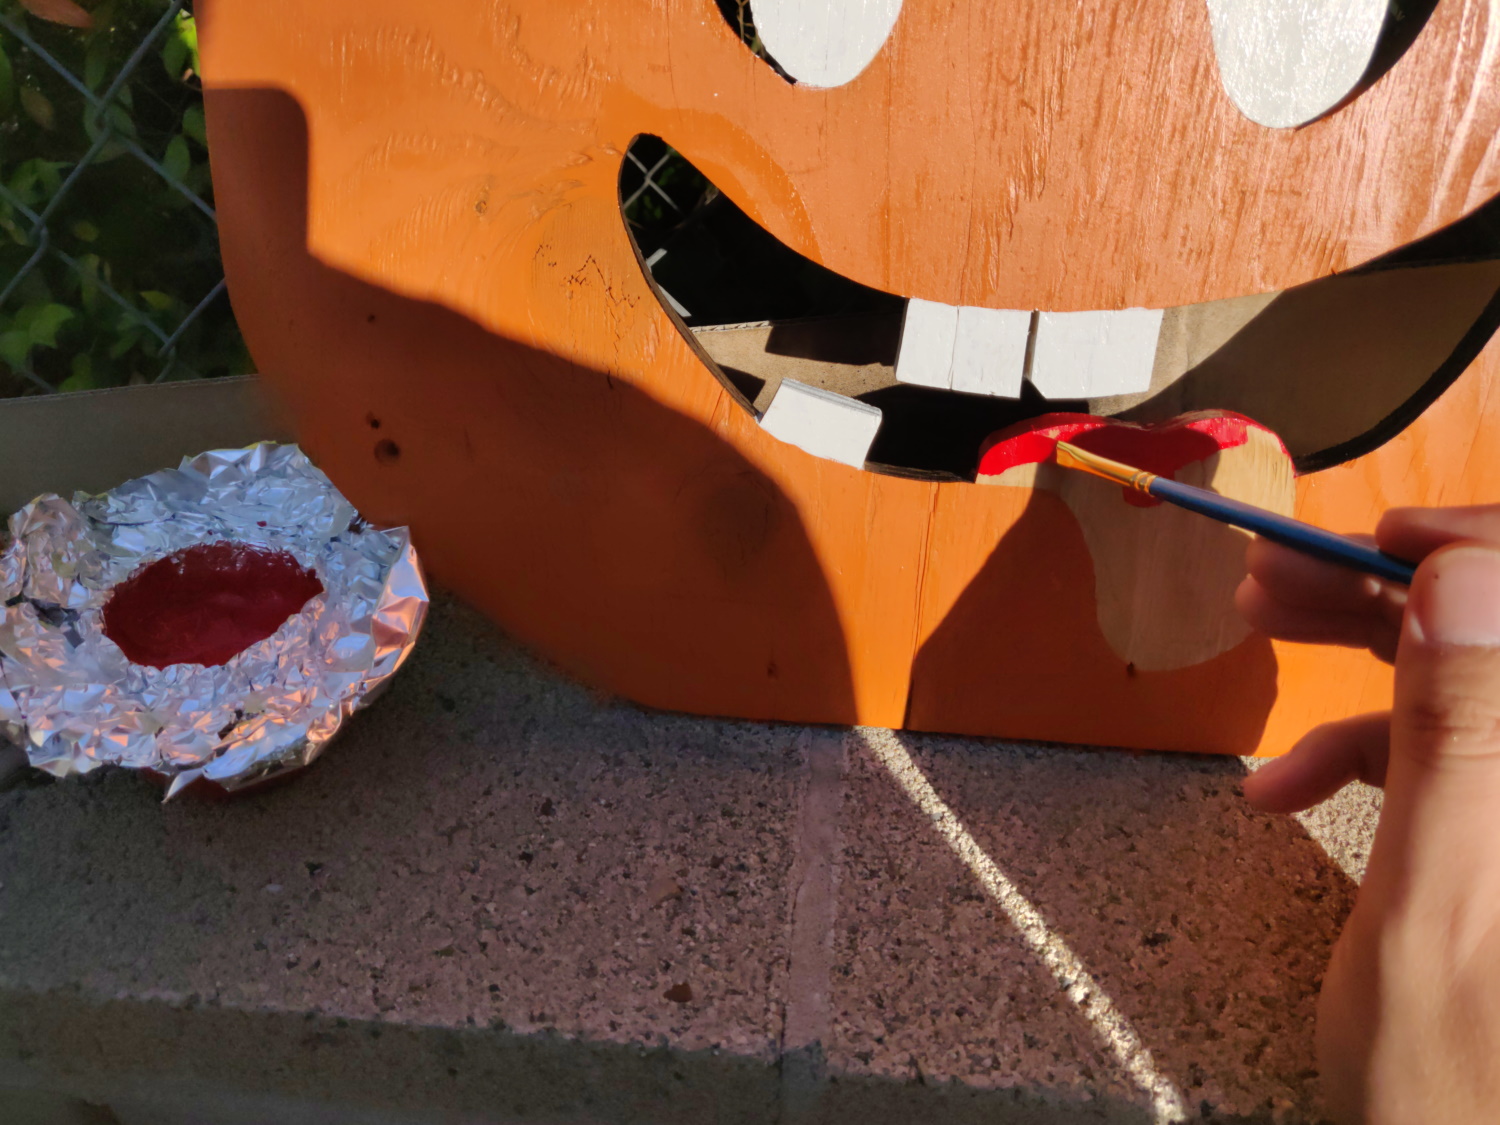
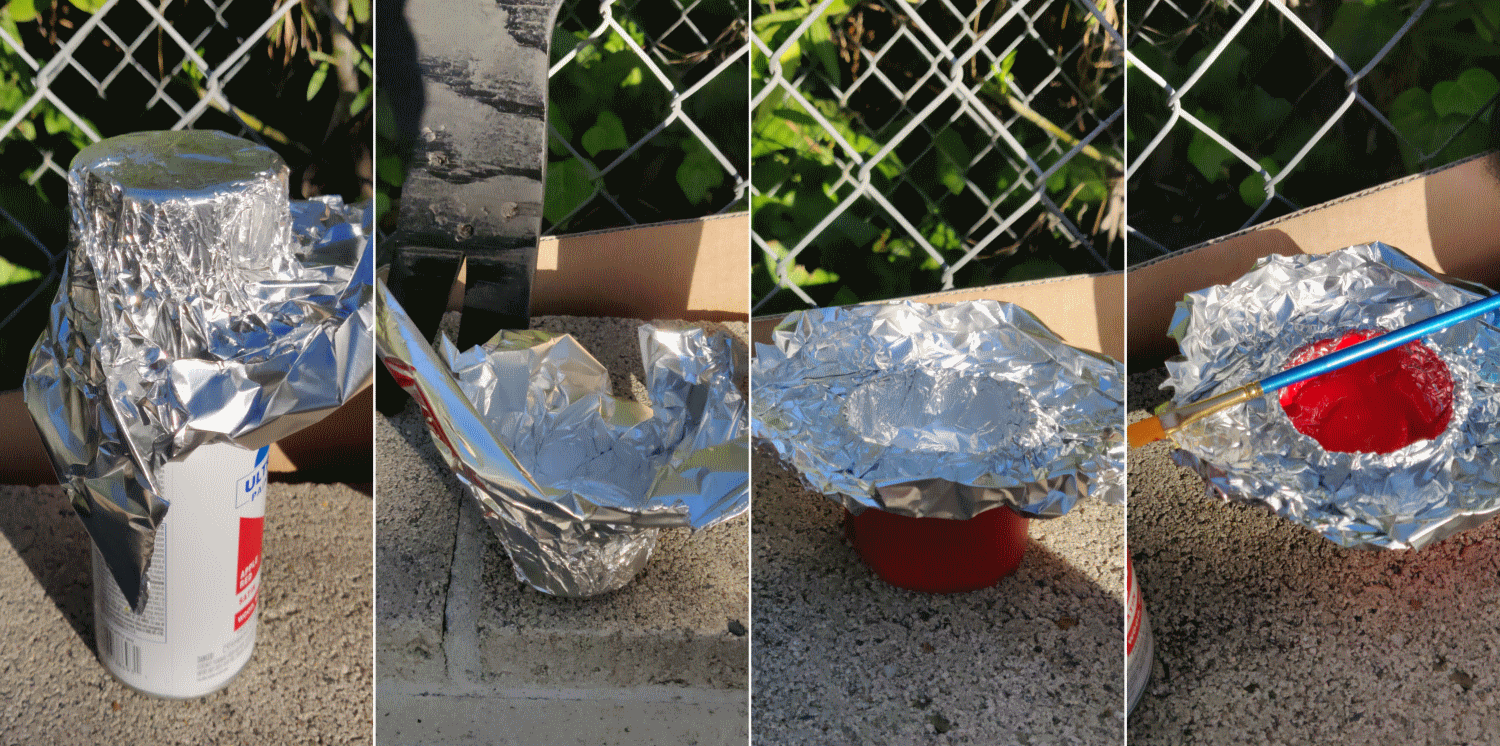
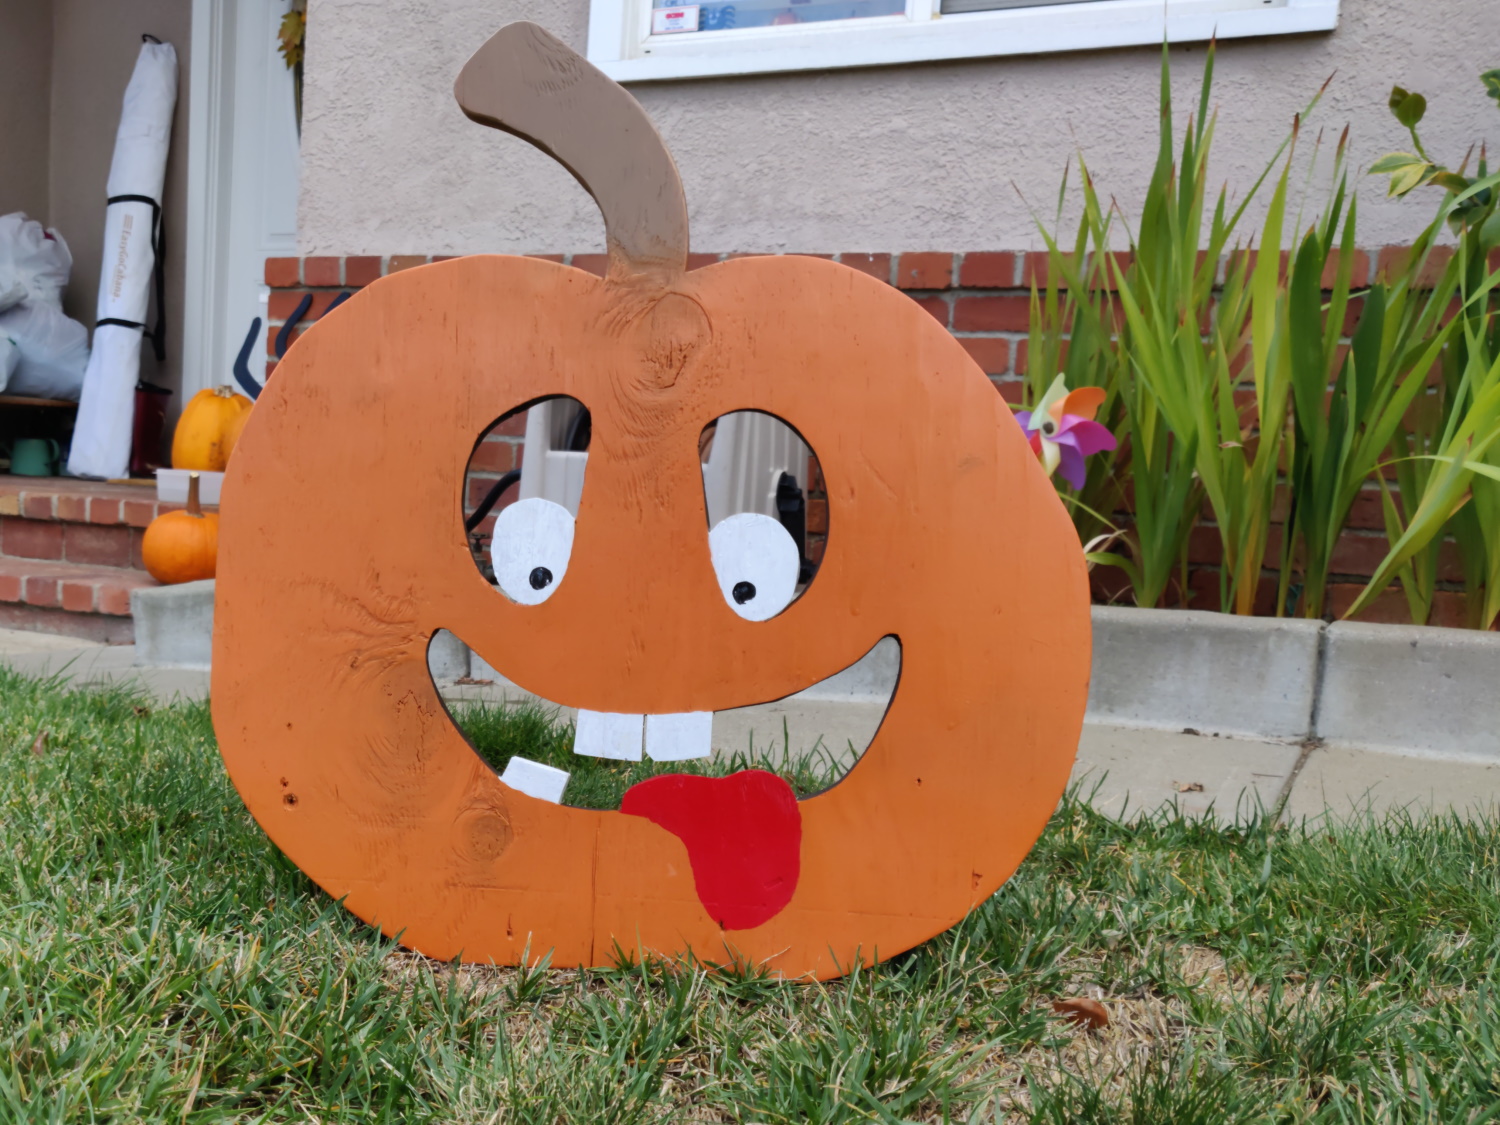
For the “silly” pumpkin I created two small makeshift ashtray-like containers from aluminum foil and used small paint brushes to get the white and red paint onto eyes, teeth and tongue, all of which I had masked with frog tape before when spraying the face with orange.
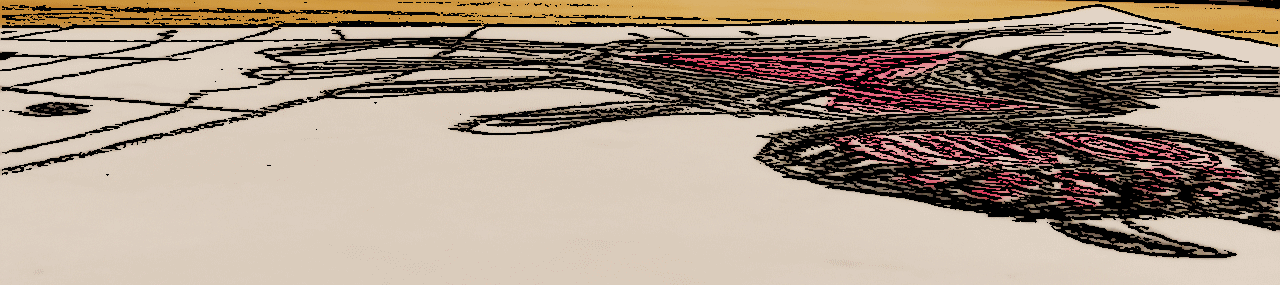
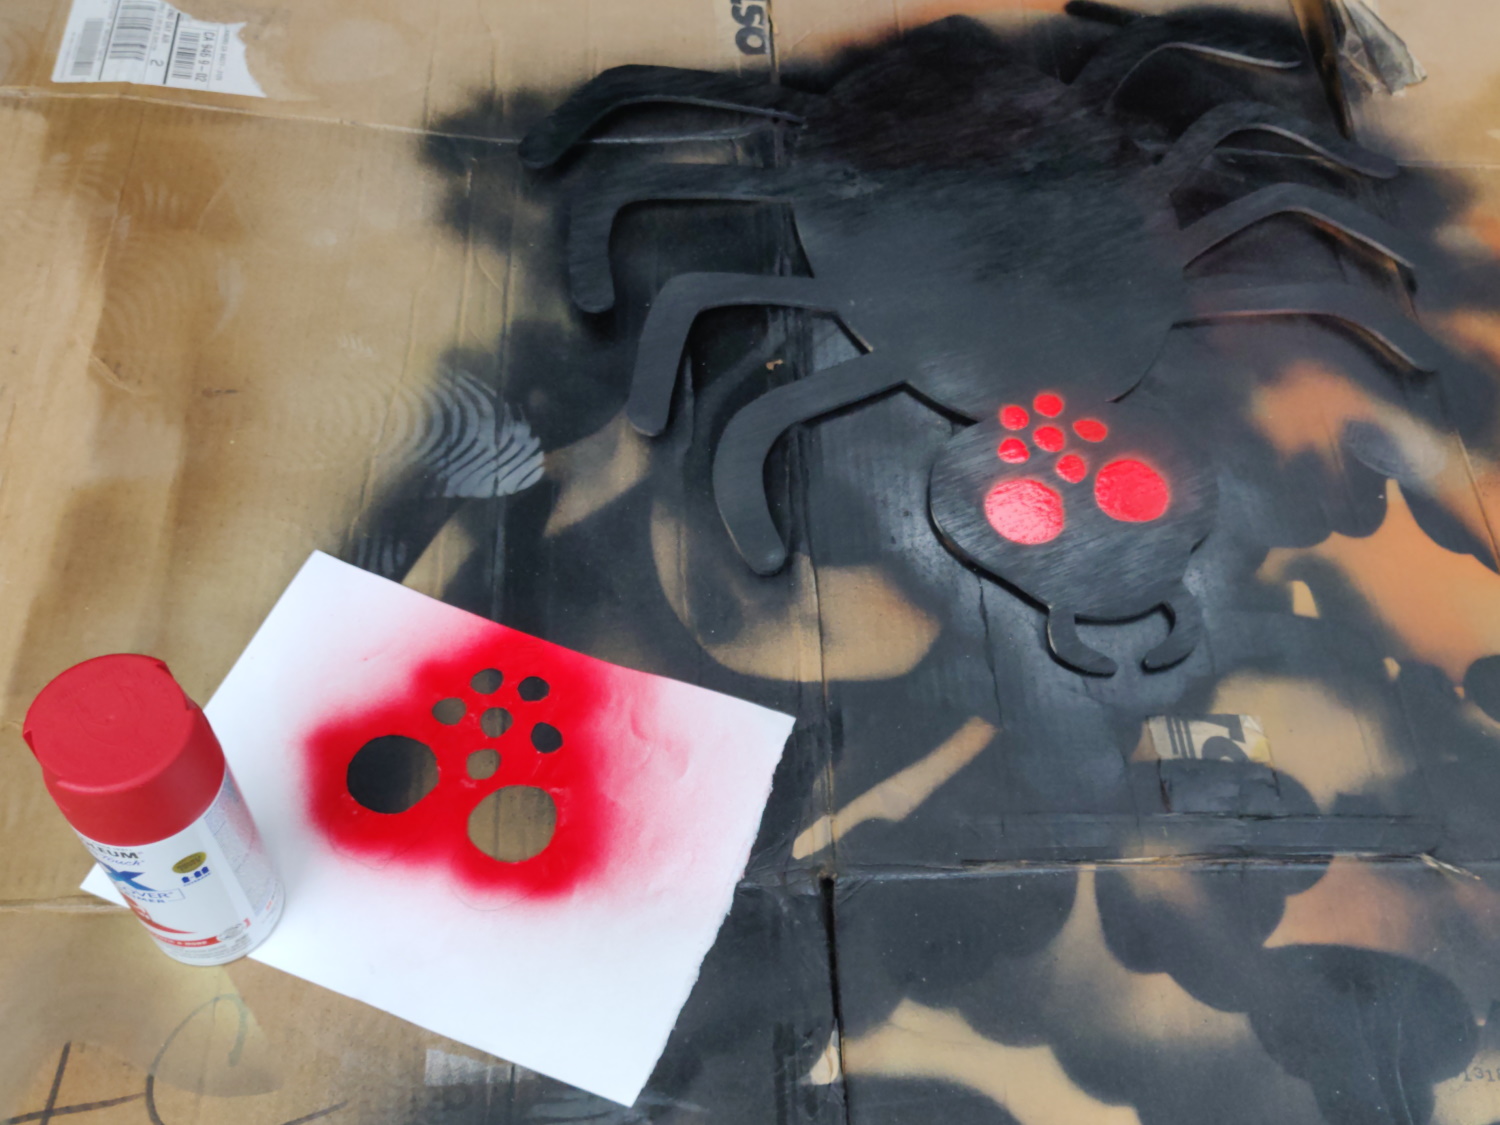
The cat, the spider and the bats we sprayed black from all sides, the spider also got some red spots by using stencils that were quickly cut from sheets of paper.
The result
This is a great DIY project that doesn’t require a lot of woodworking skills or experience, and one a child can easily contribute to. Use leftover plywood, buy some, or - if you have the tools and skills - laminated some boards yourself. Besides that only basic tools are needed to cut and shape the materials. The exterior spray paint is easy to apply and allows to put the then sealed workpieces inside or outside the house. The costs are also relatively low, especially when materials are used that are already there, like garden stakes and pipe cutoffs.

And I am really proud of my son, he really did put his mark on the whole project. Not only is more than half of it made after his very own designs, he also helped in the process of making, was cleaning up the mess afterwards and had a say in where to put them once we were done with all the pieces.

 Happy Halloween, everyone!
PS: for next year we’ll also work on a spider web as well as the ghost he was asking for…
Comments